ProNextJS
    Loading
    lesson

    Client vs. Server Components in Next.js

    Jack HerringtonJack Herrington

    We're going to be adding autorization to our application, which will involve adding a sign-in button to the page.

    With the original Next.js Pages Router, you could add a sign-in button and an onClick handler to handle the sign-in process. However, in the App Router, if you want a component to be interactive on the client, it needs to be a client component.

    In order to understand the differences between client and server components, we'll start by building a small Next.js test application to see how they work in isolation. Then, we'll integrate them into our application.

    Setting up the Next.js Application

    To get started, create a new Next.js application using the following command:

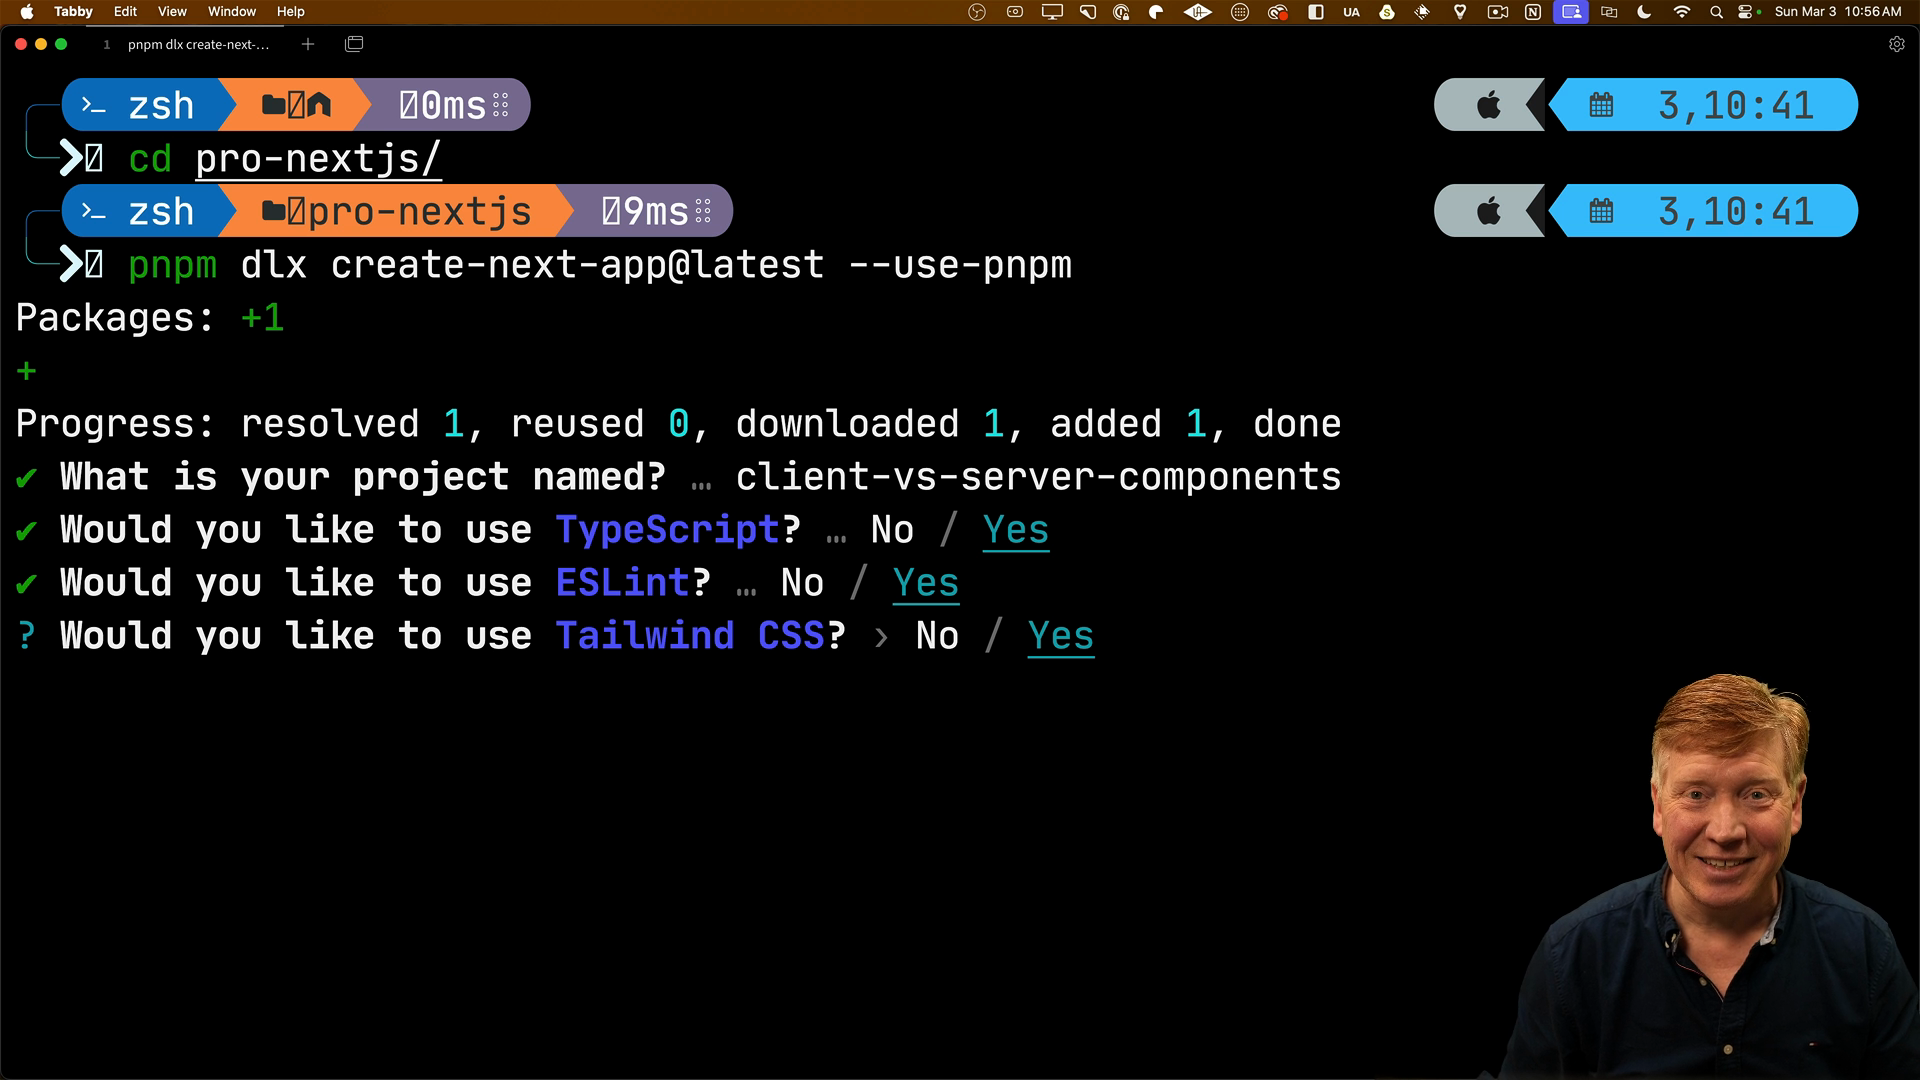
    pnpm dlx create-next-app@latest --use-pnpm
    

    Choose "Yes" for every option presented as before, including Tailwind for styling.

    the new app menu

    Once the setup is complete, open the project in your preferred code editor.

    Creating Server and Client Components

    Replace the code in the Home component inside of the page.tsx file with some Tailwind classes to center the content:

    export default function Home() {
      return <main className="mt-5 max-w-xl mx-auto"></main>;
    }
    

    Inside the src folder, create two new files: ServerComponent.tsx and ClientComponent.tsx.

    Inside of ServerComponent.tsx, create a server component that displays the text "Server Component":

    export default function ServerComponent() {
      return (
        <div className="my-5">
          <h1 className="font-bold text-2xl">Server Component</h1>
        </div>
      );
    }
    

    Similarly, in ClientComponent.tsx, create a client component that displays the text "Client Component":

    export default function ClientComponent() {
      return (
        <div className="my-5">
          <h1 className="font-bold text-2xl">Client Component</h1>
        </div>
      );
    }
    

    Import these components into page.tsx and use them side by side:

    import ServerComponent from './ServerComponent';
    import ClientComponent from './ClientComponent';
    
    export default function Home() {
      return (
        <main className="mt-5 max-w-xl mx-auto">
          <ServerComponent />
          <ClientComponent />
        </main>
      );
    }
    

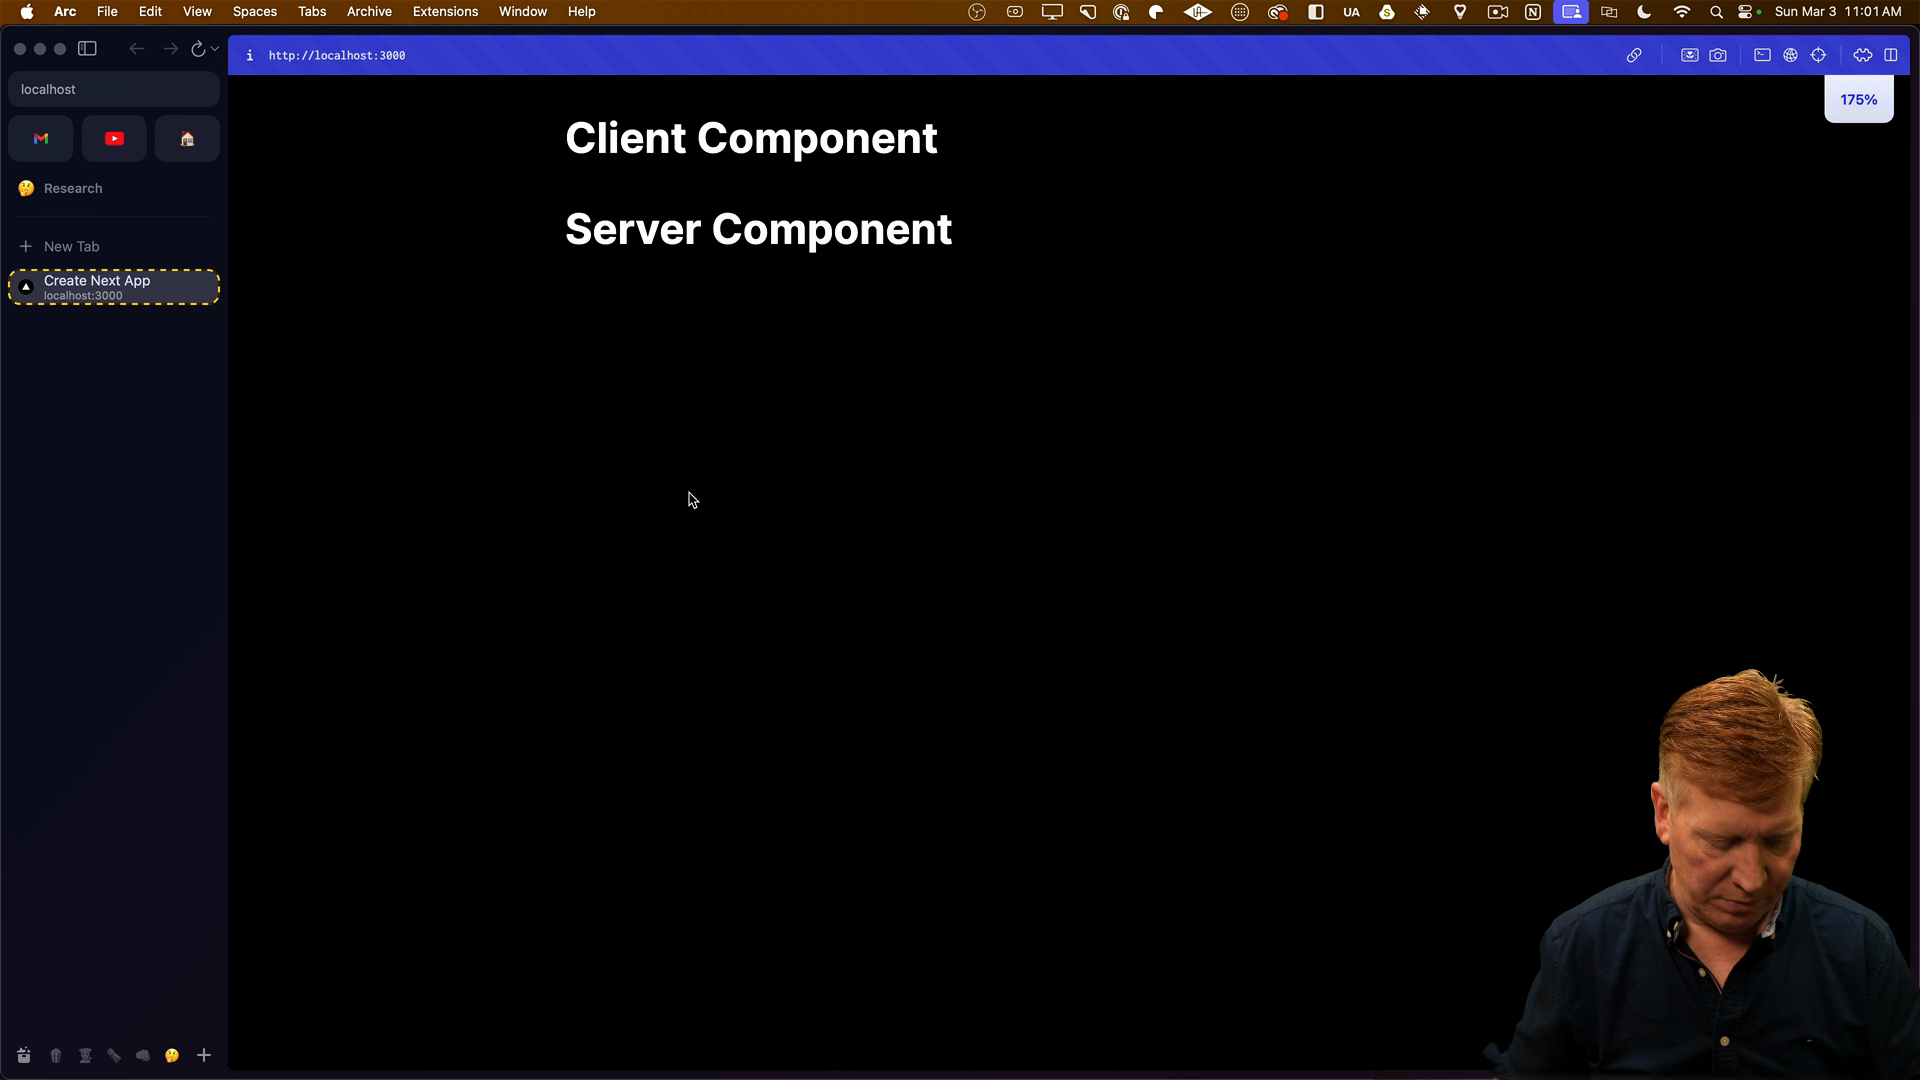
    Now in the browser we can see both components side by side:

    The components are rendering

    Determining Where Components Render

    To determine where the components are rendering, add console.log statements to each component:

    // ServerComponent.tsx
    export default function ServerComponent() {
      console.log('ServerComponent');
      return (
        ...
    
    
    // ClientComponent.tsx
    export default function ClientComponent() {
      console.log('ClientComponent');
      return (
        ...
    

    After saving the files, you'll see the console logs in the terminal, indicating that the components are rendering on the server.

    Console logs in the terminal

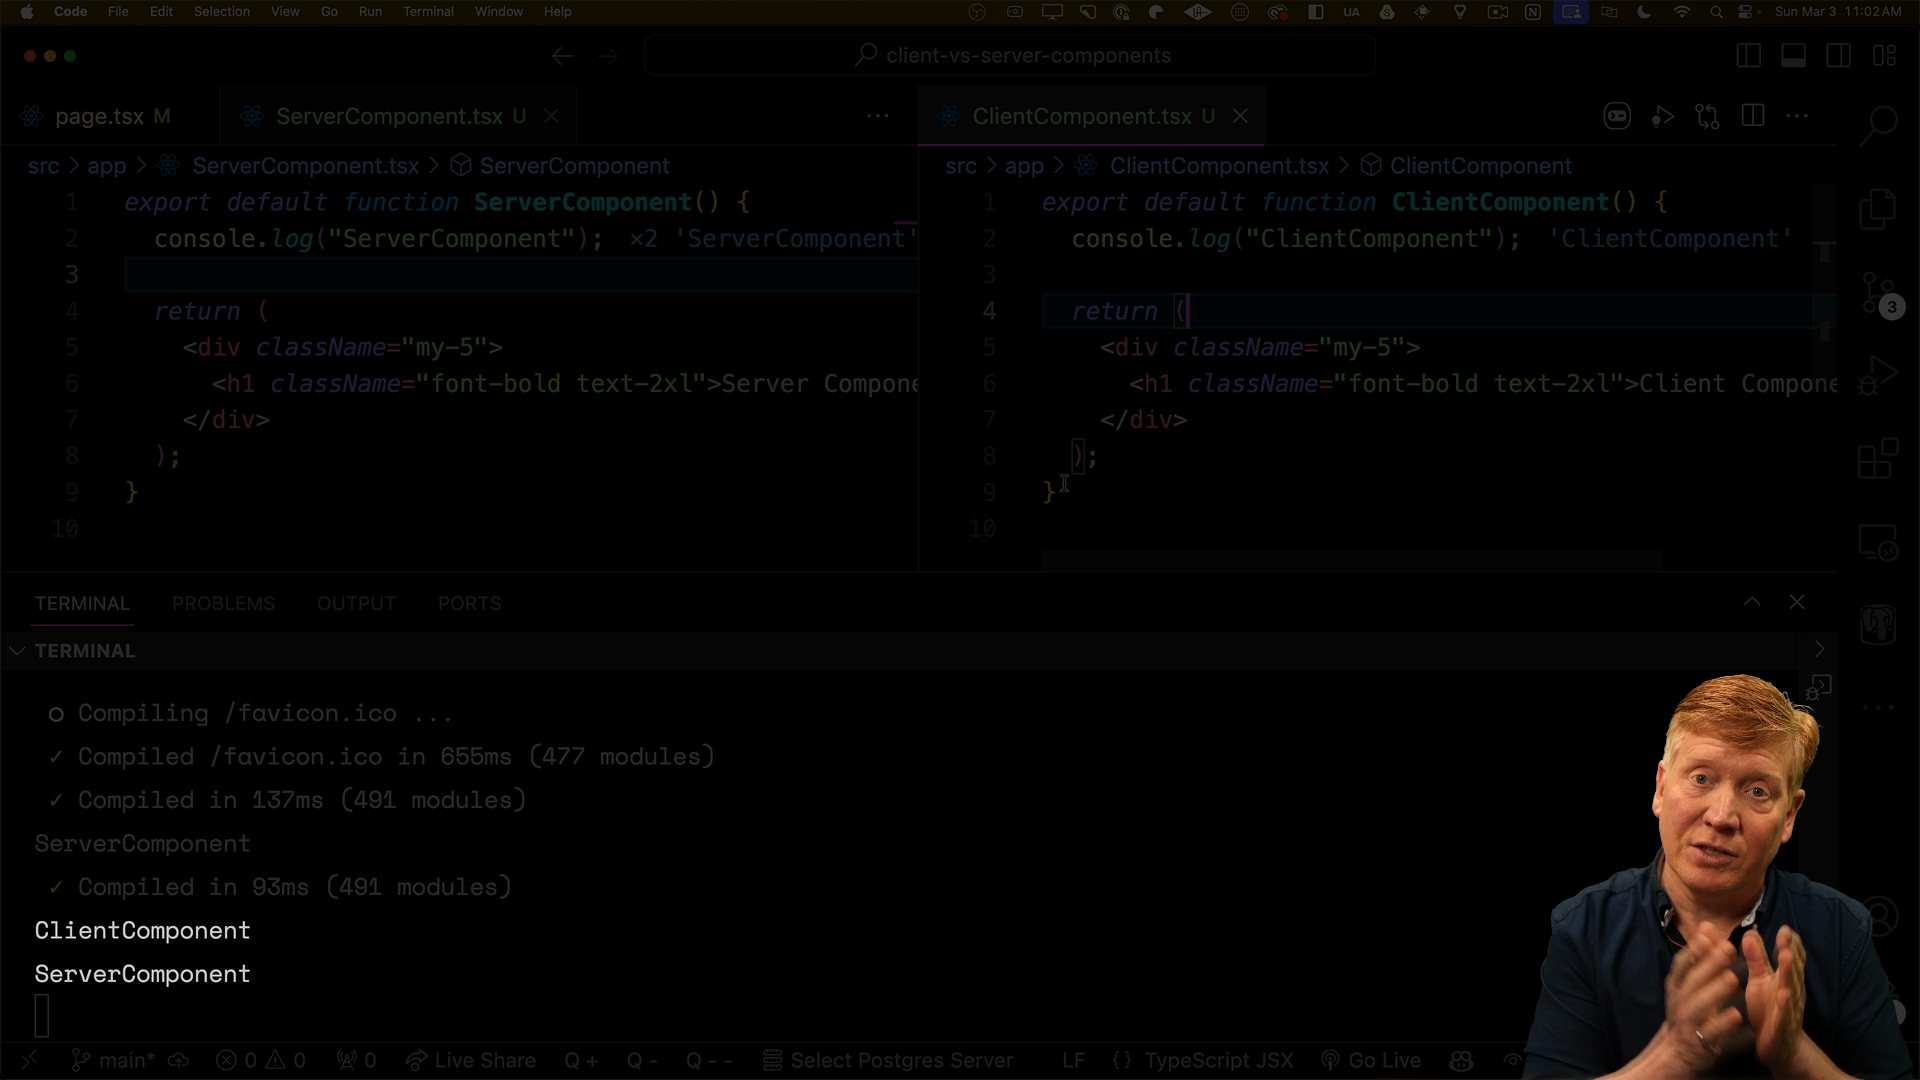
    Client-side console logs will appear in both the terminal and in the browser's console. However, the browser console is currently empty.

    To turn the ClientComponent into an actual client component, add 'use client' at the top of the file:

    'use client';
    
    export default function ClientComponent() {
      console.log('ClientComponent');
      return (
        ...
    

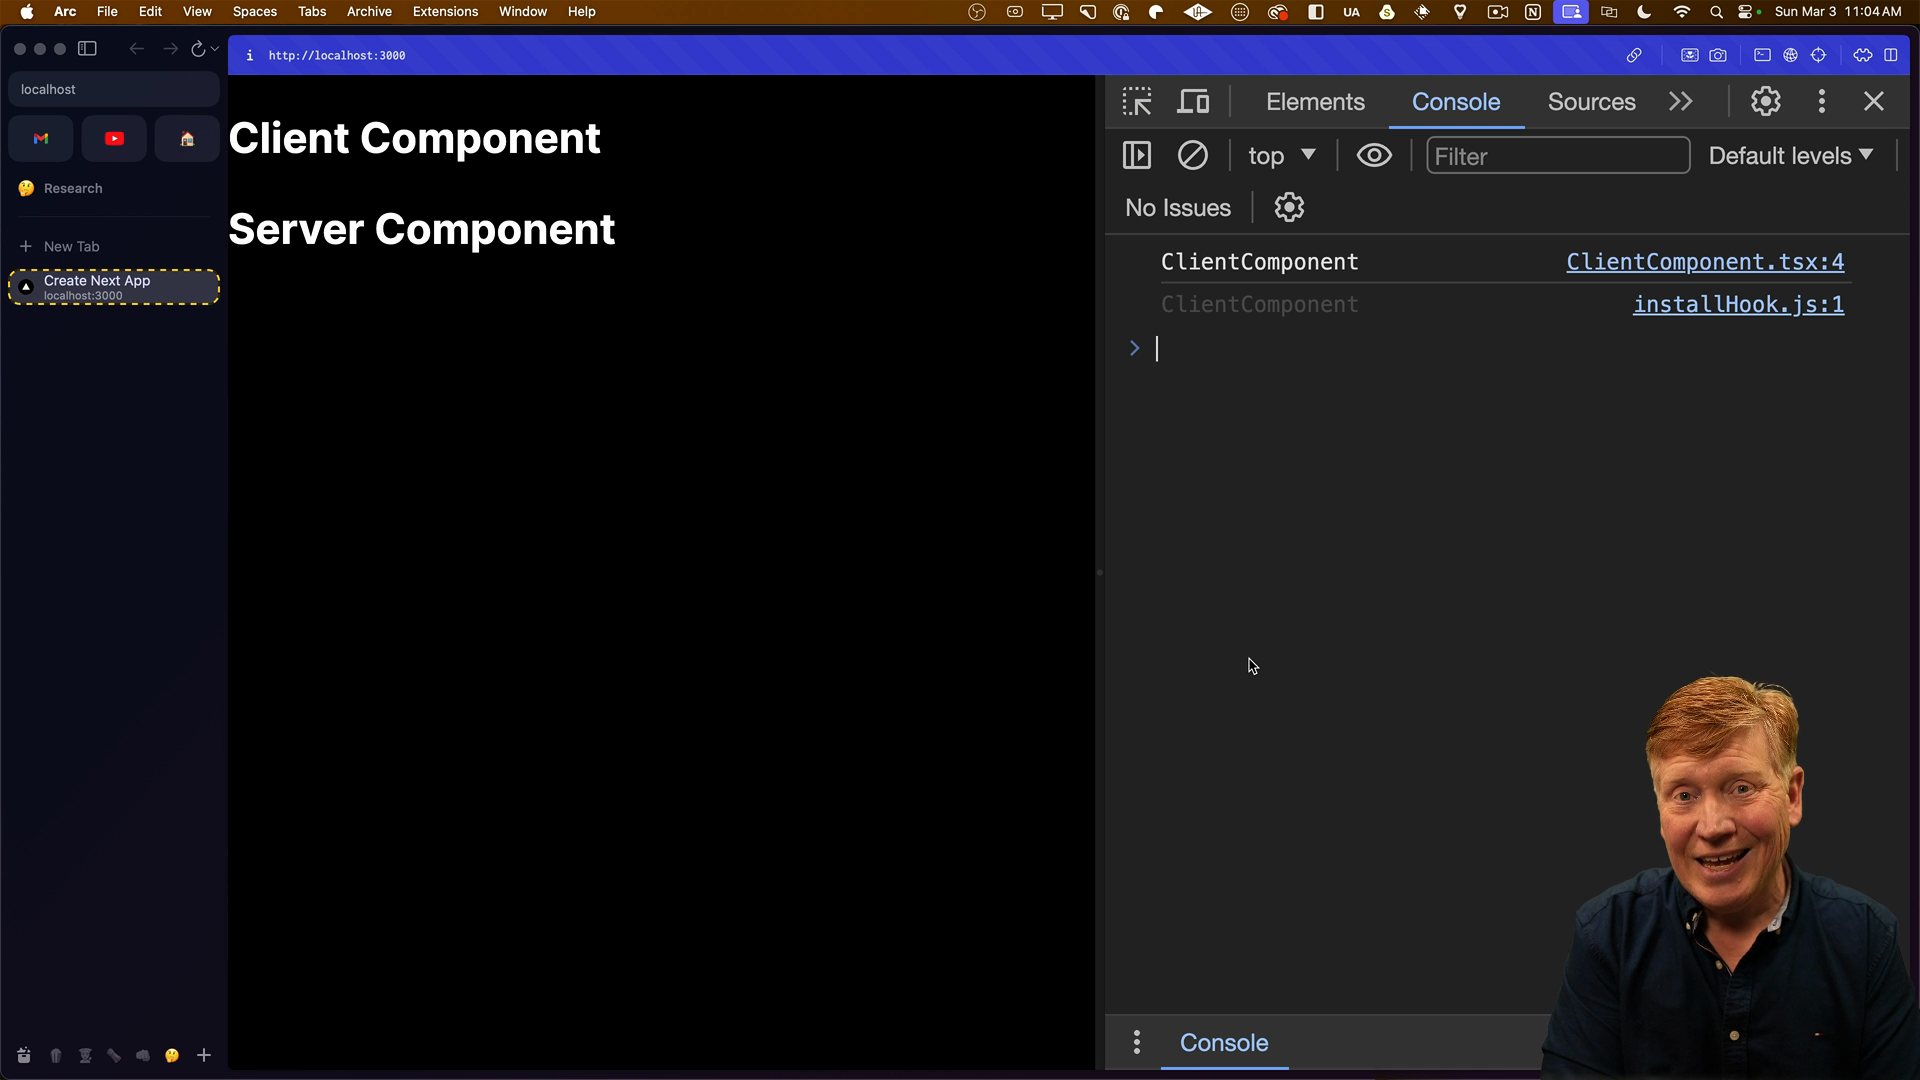
    After a full refresh, you'll notice that the ClientComponent now renders on both the server and the client:

    ClientComponent logged in the browser console

    Interactivity and Hooks in Client Components

    Another key difference between client and server components is that only client components can use hooks.

    In ClientComponent.tsx, import useState from React and create a counter state, and everything will work as expected.

    "use strict";
    import { useState } from "react";
    
    export default function ClientComponent() {
      const [counter, setCounter] = useState(0);
      return (
        <div className="my-5">
          <h1 className="font-bold text-2xl">Client Component</h1>
          <p>Counter: {counter}</p>
          <button
            className="bg-blue-500 hover:bg-blue-700 text-white font-bold"
            onClick={() => setCounter(counter + 1)}
          >
            Increment
          </button>
        </div>
      );
    }
    

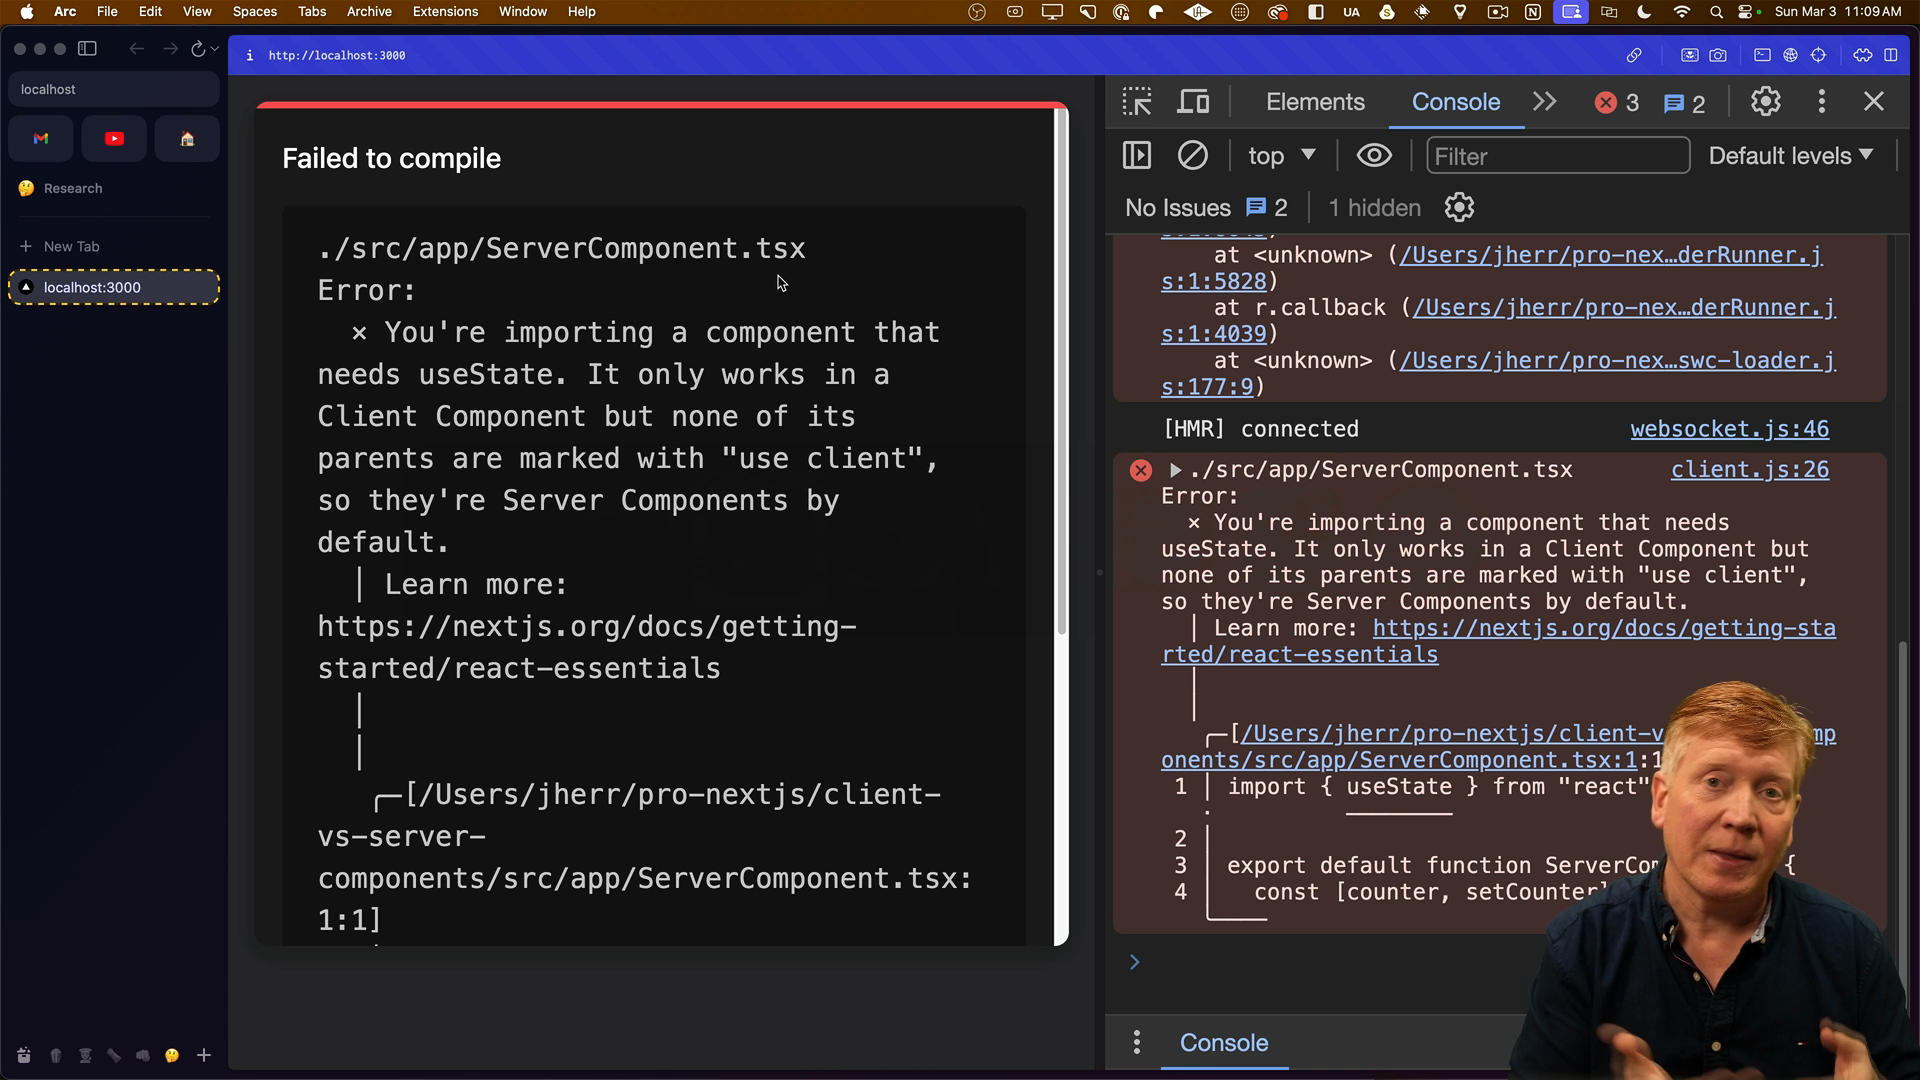
    However, attempting to use useState in the server component will result in an error indicating that hooks can only be used in client components:

    Error when using hooks in a server component

    Server Lifecycle for Client Components

    Although client components render on the server, effects don't run on the server.

    To demonstrate, import useEffect and useLayoutEffect in ClientComponent.tsx and add console logs inside them:

    'use client';
    import { useEffect, useLayoutEffect } from 'react';
    
    export default function ClientComponent() {
      useEffect(() => {
        console.log('ClientComponent effect');
      }, []);
    
      useLayoutEffect(() => {
        console.log('ClientComponent layout effect');
      }, []);
    
      return (
        ...
    

    In the browser, you'll see the effect logs, possibly twice due to strict mode in development.

    The effects log in the console

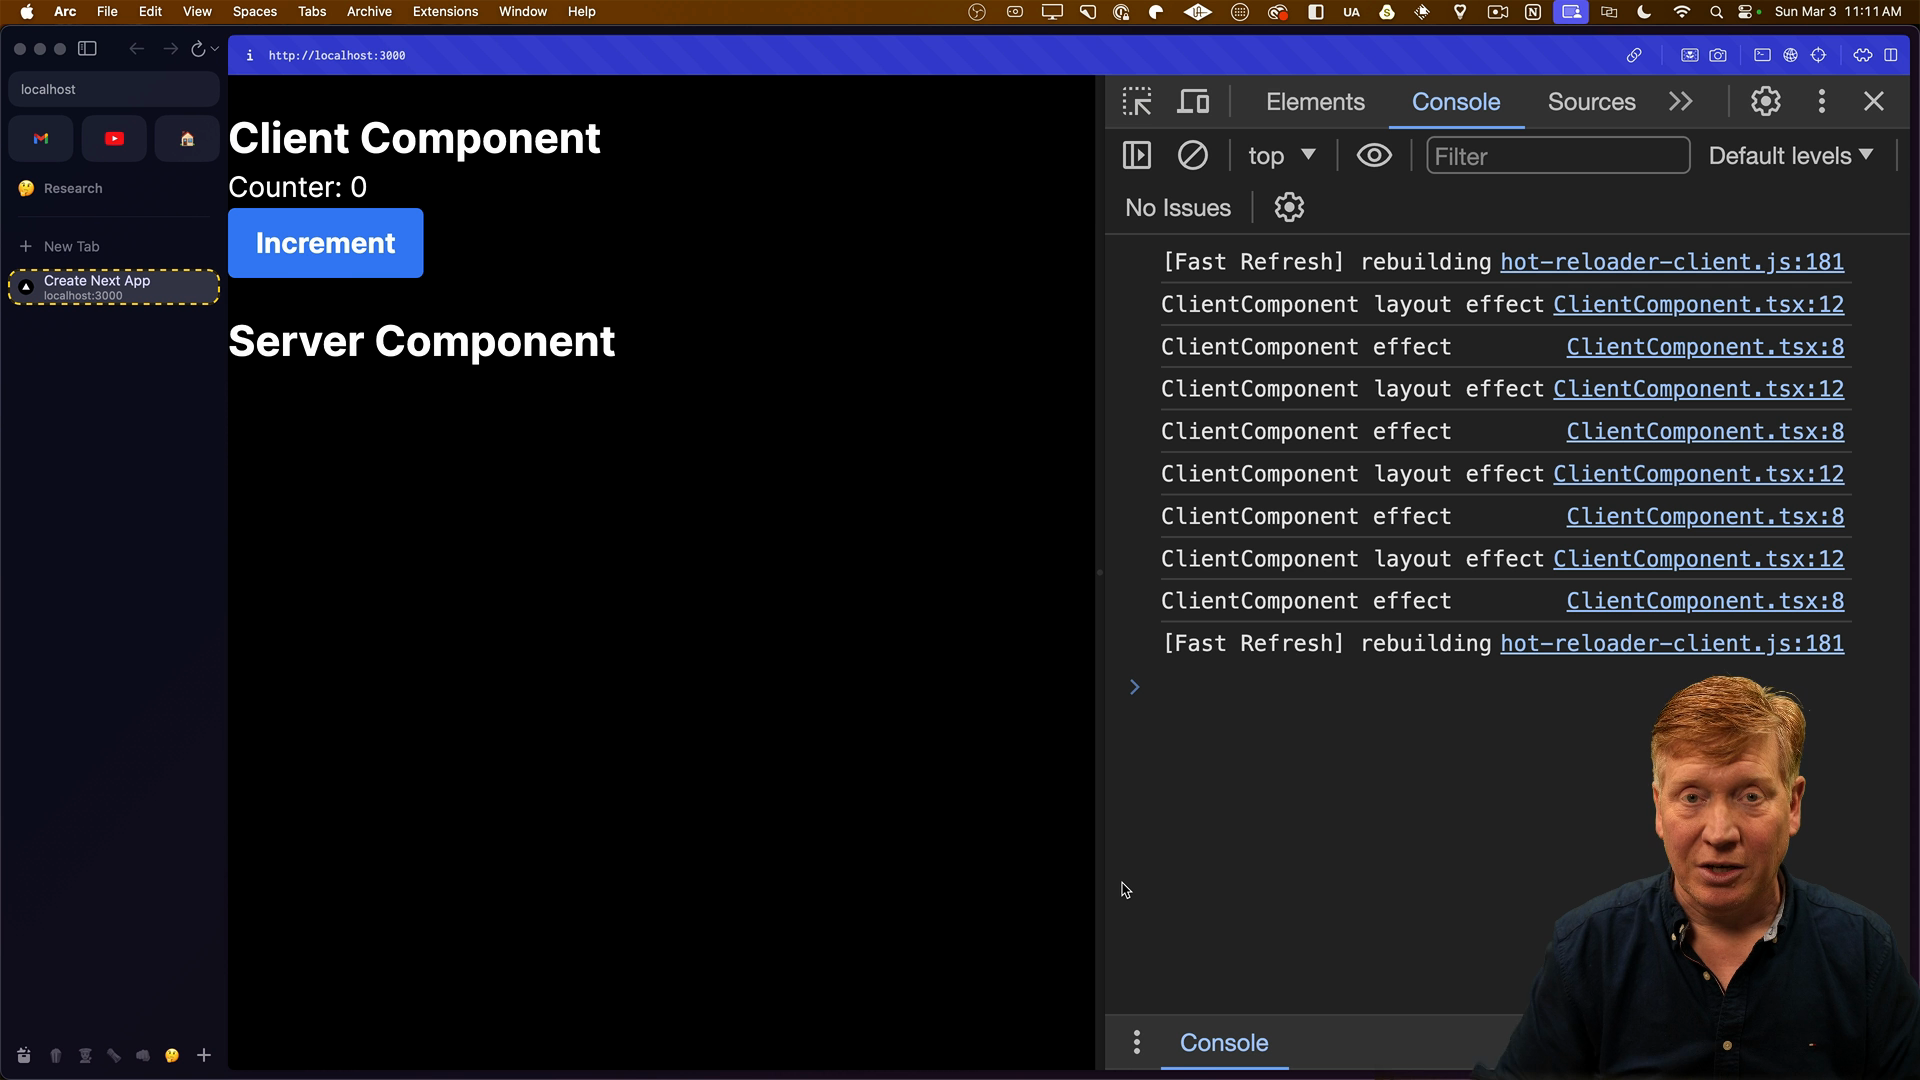
    However, the server console will not display these logs, confirming that effects do not run on the server.

    No effect logs in the terminal

    This behavior was the same in the Pages Router, but it's important to understand that if you rely on useEffect to load your data, it won't run on the server.

    Advantages of Server Components

    Server components offer several advantages over just using client components:

    • Reduced Bundle Size: Server component code is not sent to the client, reducing the bundle size and speeding up the application.
    • Security: Server component code only runs on the server, preventing leakage of secrets to the client.
    • Data Loading: Server components make it easy to load data from backend services.

    Loading Data in Server Components

    To demonstrate data loading in server components, we'll use a fake data service called reqres.in. Update the server component to make an async request to the API endpoint:

    export default async function ServerComponent() {
      const req = await fetch("https://reqres.in/api/users/2");
      const { data } = await req.json();
    
      return (
        <div className="my-5">
          <h1 className="font-bold text-2xl">Server Component</h1>
          <div>
            {`${data.first_name} ${data.last_name}`}
          </div>
        </div>
      );
    }
    

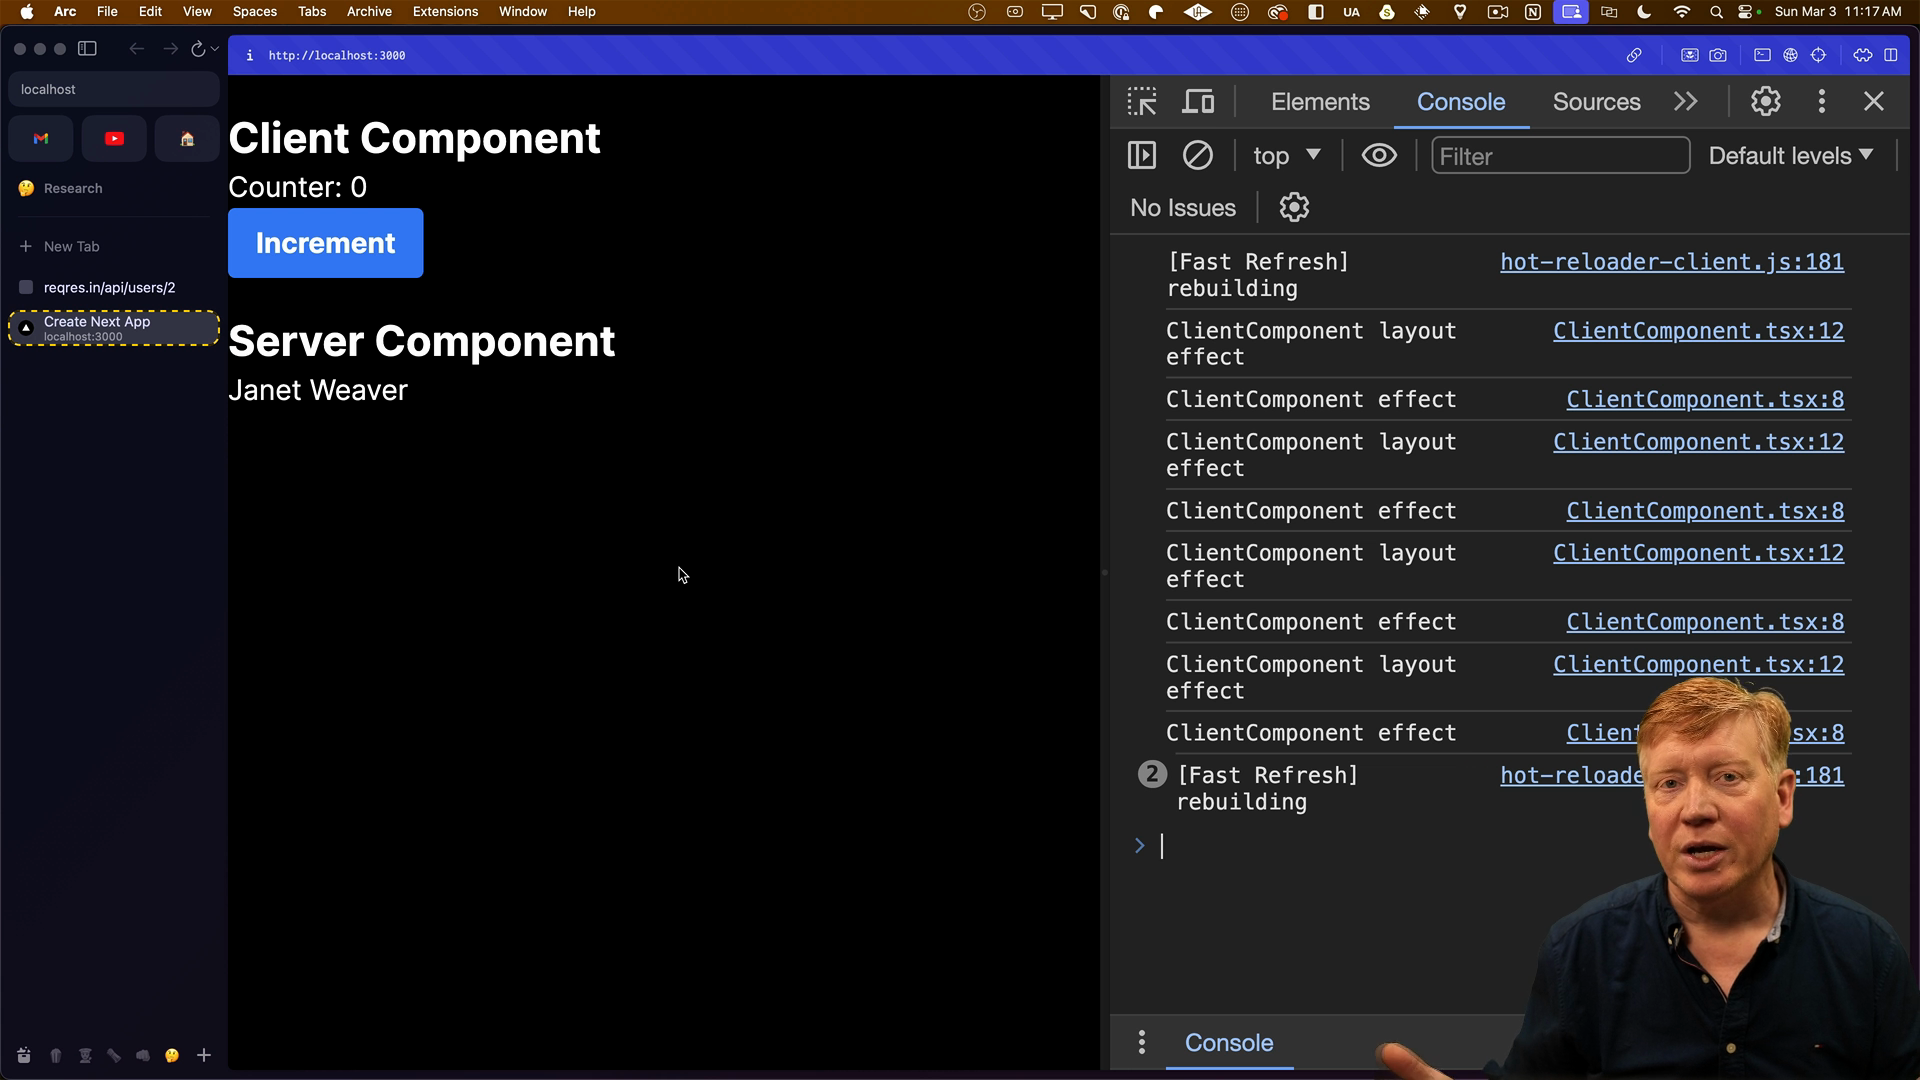
    Now the server component will display the name of the user fetched from the API:

    the fetched name appears

    Attempting to do the same in a client component would require some workarounds since they aren't async. We would have to use promises or async functions inside of useEffect.

    Loading data with RSCs is great since it makes it easy to call backend services and render the result. This is often faster since you're likely to be talking to resources in the same cluster as your server rather than over the open internet.

    However, just as RSCs don't support hooks, they also don't support Context. If you try to use context in a server component, you'll get an error. It's important you don't try to work around this, because Next.js does heavy caching of rendered components. Also, because of Suspense and async components, multiple requests can be handled simulataneously which could potentially cause data bleed.

    Sending Data from Server to Client Components

    Server components can send data to client components. To demonstrate we'll update page.tsx's Home component to make the same fetch request as in the server component. Note that Next will see we're making the same request and optimize it to only make one request.

    Pass the fetched data as a name prop to the client component:

    export default async function Home() {
      const res = await fetch('https://reqres.in/api/users/2');
      const { data } = await res.json();
    
      return (
        <main className="mt-5 max-w-xl mx-auto">
          <ServerComponent />
          <ClientComponent name={`${data.first_name} ${data.last_name}`} />
        </div>
      );
    }
    

    Now, we'll update the client component to accept the name prop and display it:

    'use client';
    
    export default function ClientComponent({ name }) {
      // rest of component as before
          <h1>ClientComponent</h1>
          <div>{name}</div>
    

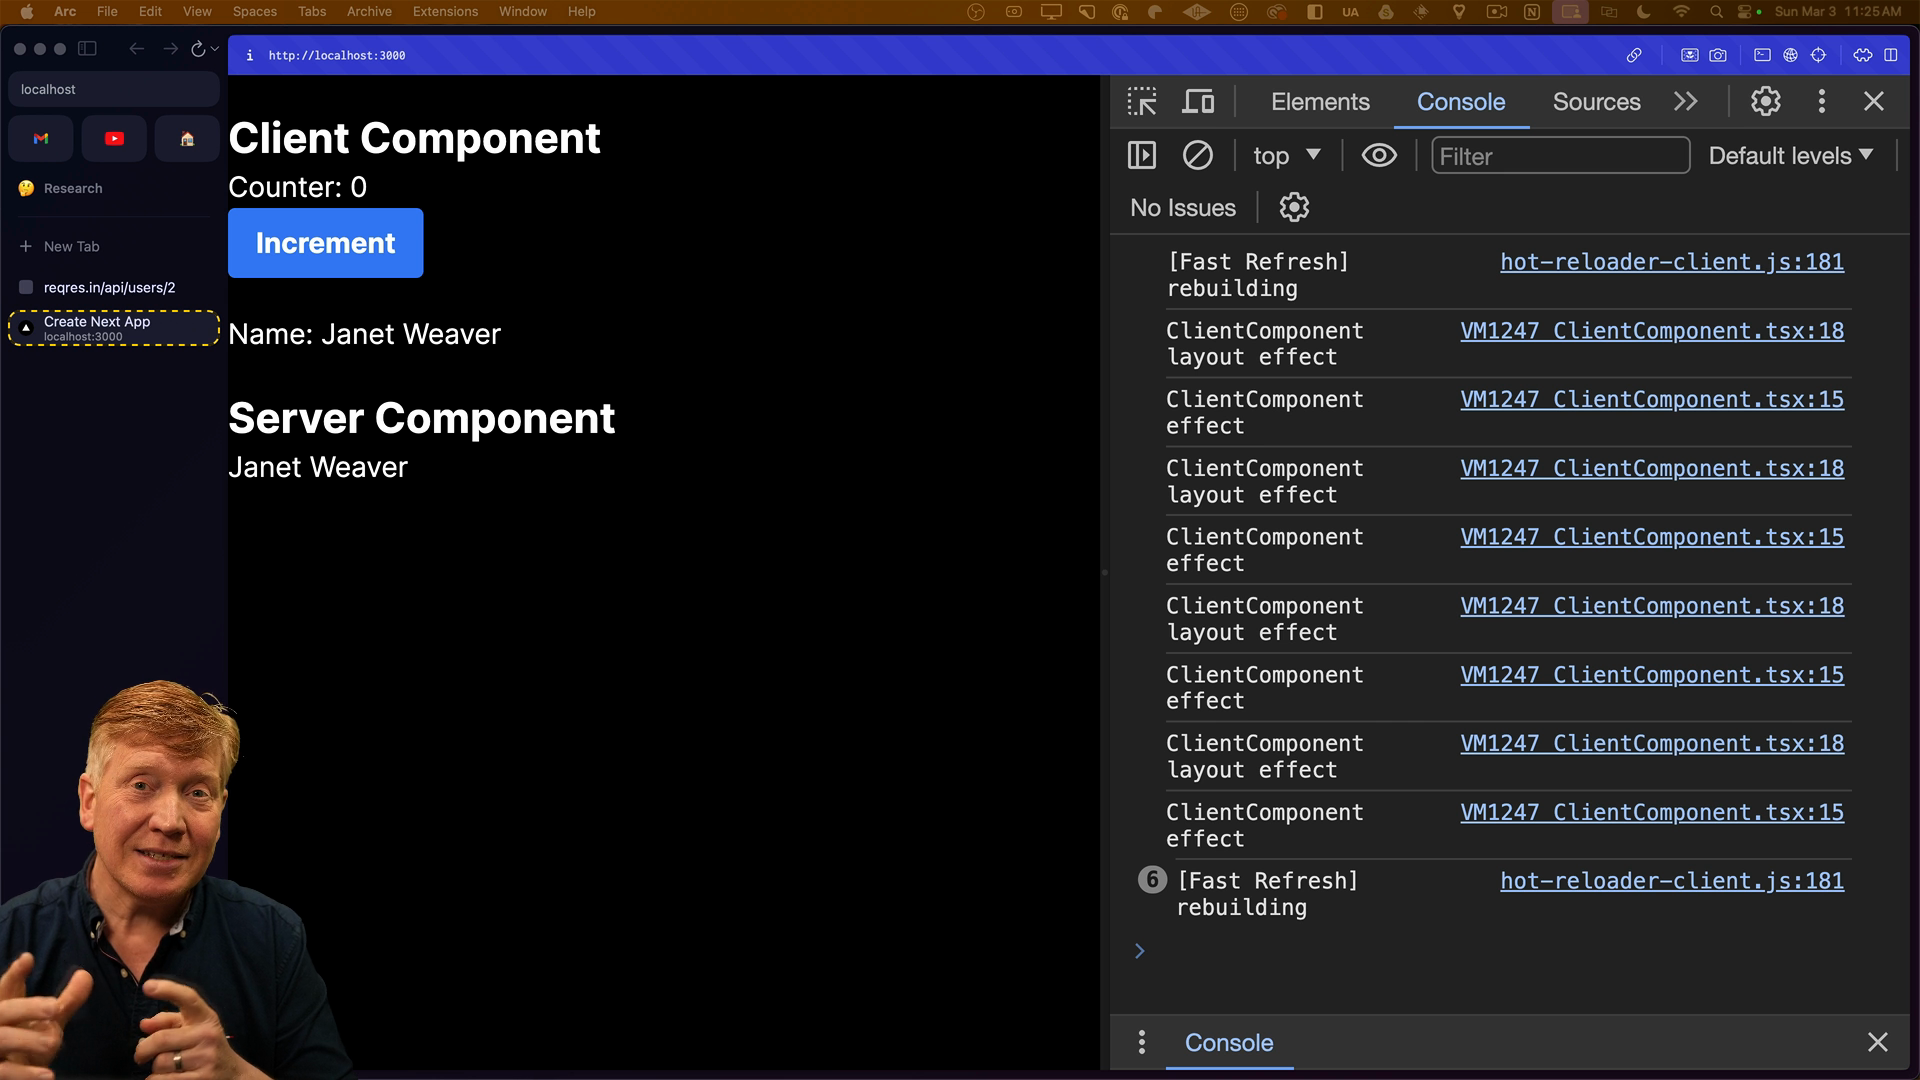
    Now the name will show in both places:

    the name shows in both places

    Server components can send strings, numbers, booleans, dates, arrays, and objects to client components, but they cannot send functions.

    Trying to pass an onClick handler prop to the ClientComponent will result in an error:

    <ClientComponent
      onClick={() => console.log('clicked')} // this will error!
      name={`${data.first_name} ${data.last_name}`}
    />
    
    onClick Error

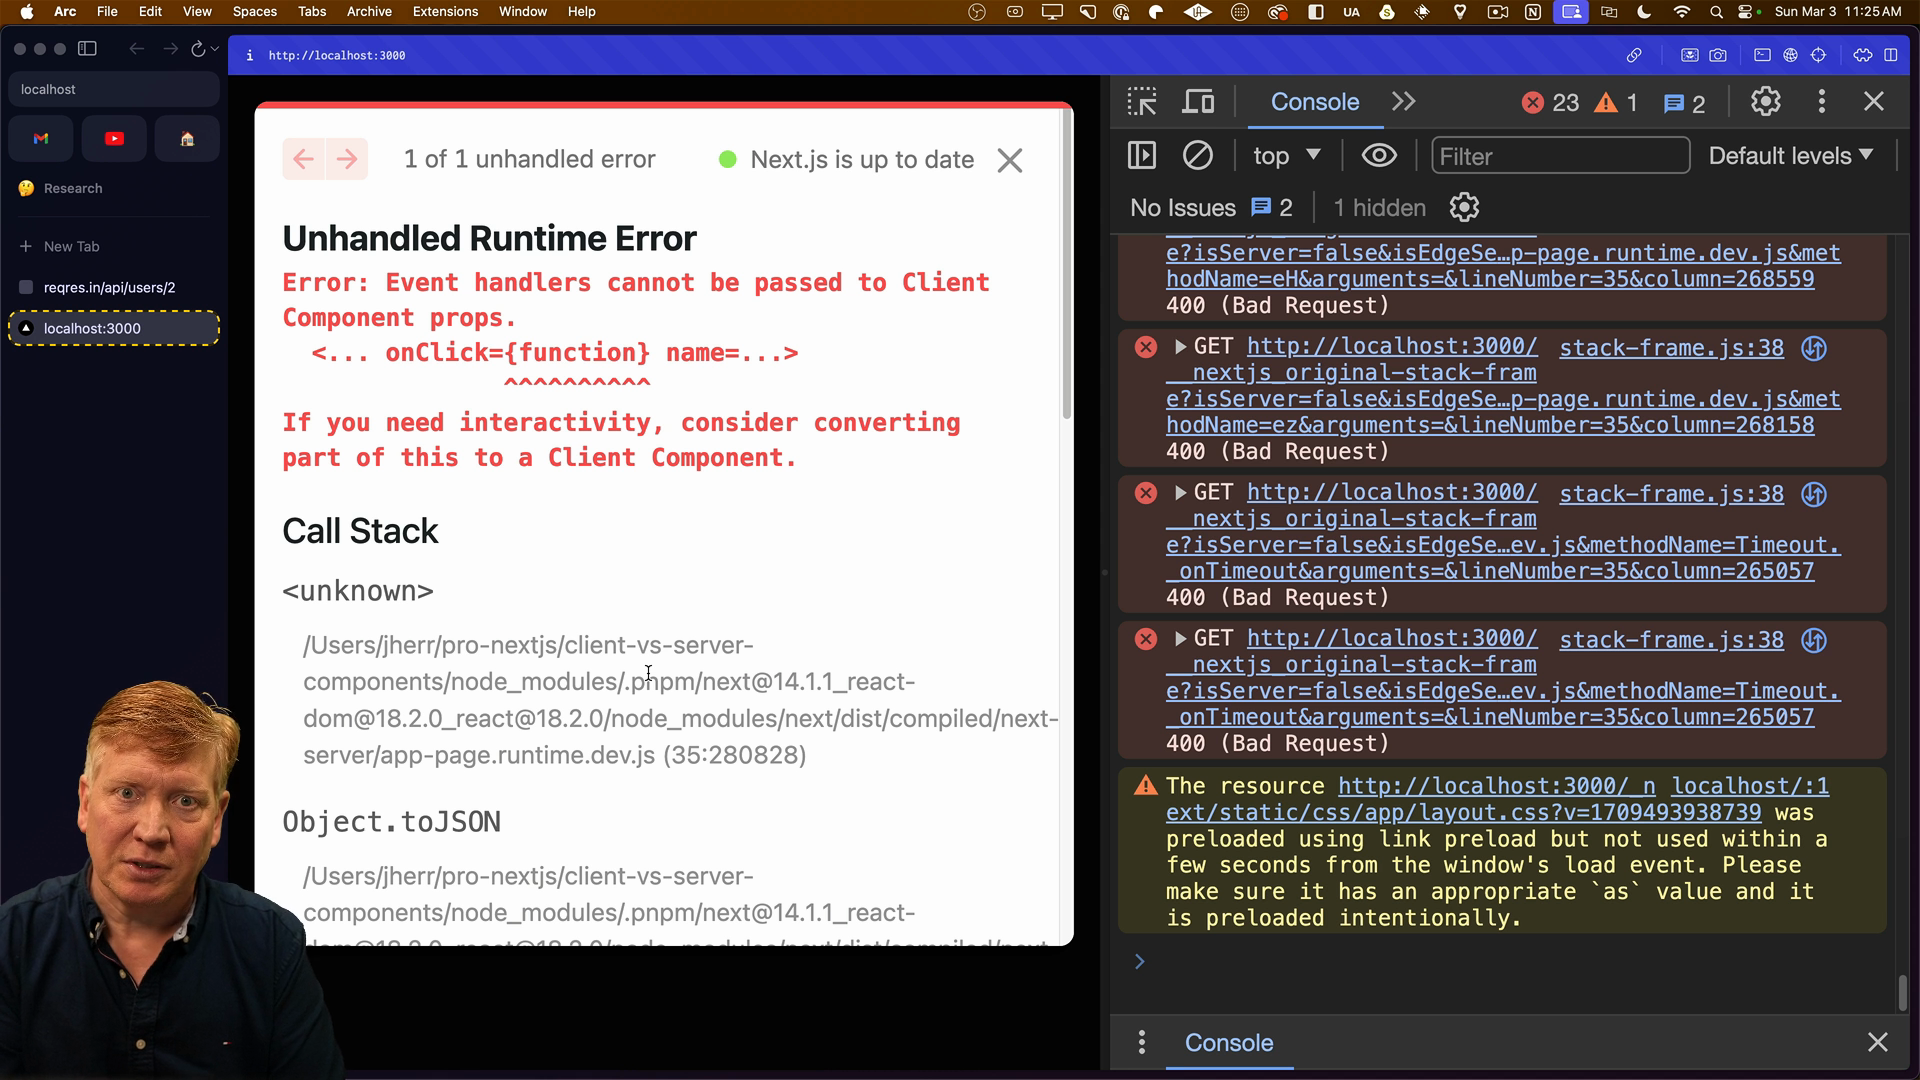
    This error should conceptually make sense, because clicking something on the client isn't going to trigger a server-side function unless you specifically wire up a server action. We'll discuss that more later on.

    Now that you have an idea for the difference between client and server components, let's move on to adding authorization to our app.

    With this knowledge, you can now proceed to add authorization to your application, leveraging the strengths of both client and server components.

    Transcript

    In this next section, we're going to add authorization to our application. And that involves adding a sign-in button to the page. Now, with something like the original Next.js Pages Router, or VEET, or Create React App, you know, you just add a sign-in button and add an on-click handler to that. Easy enough.

    But in the App Router, if you want a component to be interactive on the client, it needs to be a client component. So far, our application is built entirely of server components. Who knew? No kidding. Now, we need to learn this new concept of client and server components.

    And when I'm learning something new, what I try to do is I try it out in isolation first, and then I try it out in my application. So that's what we're going to do here. We're going to try a little set of experiments to get a feel for the differences between client and server components. And I definitely encourage you to follow along as we do this.

    All right, so the first thing we're going to do is we're going to build a small Next.js application. We're going to use exactly the same command as we did before. I'm going to call it client versus server components. And I'll use all the same options we did before. In particular, I'll choose Tailwind.

    I don't want it to look terrible, so we're just going to use Tailwind for the styling. And there we go, all set up. Let me bring it up in VS Code. All right, and just to start this out, I'm going to go and clean up our page.tsx. I really don't need any of this.

    I'll add a little Tailwind to just kind of center it in the middle of the page. And now I'm going to build out two different components. One's a server component and one is a client component, or at least they'll be called that. So let's start off with our server component. Get a new file.

    I can put this really anywhere I want, but I'll put it in the same directory. Call it server-component.tsx. And into there, I'll implement a server component function called server-component that's just going to go and put some text on the screen that says server-component. And do the same thing with client-component.

    And for the moment, I'll just change server to client. Now bring those into our page. And then I'll just use them. All right, so far, so good.

    Now I am going to go and put these two kind of side by side. Just so we can kind of see the two components. So server-component and client-component. All right, now let's bring this up in the browser. And now we can see our two components. Beautiful. Now the first thing we want to know is where are these rendering?

    So to find that out, let's add some console logs. So to each one of these, I'll add a console log. And in the client-component, it will say client-component. And I'll save. And now we've automatically refreshed on the client, which has then invoked our page again.

    And so we can see here in our node output, in our terminal, we are getting those console logs from our components. That's how you tell what's being run on the server. Anything that shows up in a console log on the terminal in VS Code is coming out of your server. Anything that's coming out of the client would be in the client console.

    So let's go check that out and see if anything here is rendering on the client. So we go over here to our console. We can see that there's absolutely nothing coming out of the console. So that means that nothing is rendering on the client, including our client-component, which is really just a server-component called client-component.

    So how do we turn it into a client-component? Well, to do that, all I've got to do is just add useClient at the top of the file. Now, Fast Refresh had to do a full refresh of the page because we changed the nature of the component from a server-component to a client-component.

    But interestingly enough, look at where the console logs have come out. Both of them are still rendering on the server. And that's the important thing we need to know here is that client-components, even though they're called client-components, they render in both the server and the client. Let's go over to the client and actually see.

    So now we see the console log of client-component on the client as well as on the server. So client-components render on both the client and the server. And just to actually get some interactivity, let's add an onClick handler here.

    So we'll just alert hello when you click on it. And now if we click on client-component, we get our alert. So we are getting interactive code on the client. Now, another big difference between server and client-components is that only client-components can use hooks. So let's have a look at that.

    Let's get rid of our onClick. And then we'll bring in useState. And then in place of our console log, we'll create some state for the counter. And then right down after our h1 for the client-component, we'll put in a counter readout and then a button. When you click it, it will go and set the counter to counter plus one. Pretty easy, standard stuff. So let's hit save.

    And there we go. Now we can see hooks working as expected on the client. Now let's try and do the same thing over in our server-component. So import useState in our server-component.

    And then down inside of our server-component, I'll invoke useState. And let's see. And there we go. Now we get the response from Next.js telling us we're trying to use that useState hook inside of a server-component, and that's no good. Again, we would need to promote this server-component to a client-component

    by using useClient in order to make this work. All right, let's get that out of there. And now it's back to working again. Now another important thing to understand is the server lifecycle for client-components. Again, client-components render on the server, but effects don't run on the client. Check this out.

    All right, back over in our client-component. I'm going to bring in useEffect and useLayoutEffect. And then I'm going to invoke those, and they're going to put out console logs when they're run. All right, so let's go take a look in our browser. And we can see that the client-component effects are getting run. Now those are getting run twice, but that's because the server is running in strict mode.

    And in development mode and strict mode, your useEffects and useLayoutEffects get run twice on the client. But that's not really important right now. What's really important is back in VS Code. Now we take a look at a console, which is where we'll get those console logs if they're actually running on the server. We can see that those useEffect console logs are not getting run on the server.

    Now, this is nothing new. We've had the same behavior before with the pages router. It's just important to know that if you're relying on a useEffect to load your data, then that's not going to happen on the server, which kind of brings up the point, where do we load data? So now let's get into the advantages of server-components. And I'm going to start with a question.

    Why don't we just have client-components? What's the advantage of server-components? Why separate these two things? Well, even before we get into loading data, let's talk about the size advantage of server-components. This is huge because the server-component code is not sent to the client, which not

    only reduces the size of the bundle that you send to the client, it also speeds up the application because there's less code to run on the client. And it's good for security too, because that RSC code is only run on the server. So you don't have to worry about leakage of secrets out to the client, because that code never actually gets to the client.

    So let's get on to the point of loading data through RSCs, because I think it's really where we see the power of the RSC. All right. So let me show you a little fake data service. There's a link to this endpoint in the description, but this is just a service that gives you

    an API endpoint that you can call from anywhere. It's called recres.in. So we're going to use that URL in our code and actually make a request for this JSON data in our server-component. To do this, it is shockingly easy. Up here, after export default, I'm going to turn this into an async function.

    And I'm going to replace the console.log with a request to that endpoint, recres.in, API users 2 in this case, and then I'm going to get the data back.

    And I'm just going to use await fetch to go and make the request and await the JSON response out of the request object that we got back. And from that, we'll get the data, and then we can display the data. So let's just display the data after that H1 and go back to our app.

    And there we go. Janet Weaver pulled from that source by our async RSE component. So easy. And just to make it really clear, you can't do this in a client component. Go ahead and take this exact same code. Now, this doesn't work because, one, this isn't an async function, and you can't use

    await if it's not an async function. So that puts us in the space of going back to normal promises, which basically gets us back into the world of using this inside of a use effect or using something like React Query. So we're back in the world of regular components because these aren't server components.

    So as you can see, loading data on RSE is a huge win because it makes it very easy to call back-end services and then render the result. Or in a second, you'll see how to do this. We can send data to client components to be rendered. You can do that too. So those back-end services we call can stay behind the server and within the firewall.

    It's also faster because you're probably talking to services in the same cluster as opposed to over the open internet. And all of this really just answers that question that people have of, well, why not just make everything client components?

    Because RSEs make it so much easier to load data into your application and to do it securely. Now, before I go on, remember how RSEs can't use hooks? Well, they can't use context either.

    And it's really important you don't try to circumvent that because, first, Next.js does heavy caching of rendered components. And second, because of asynchronous components and suspenses, the server can now handle multiple requests simultaneously.

    And both of those reasons mean that you could potentially have data bleed over from one request to another. So everything a server component does needs to be contained inside of that server component. Also, don't connect them to external state managers for the same reasons.

    I'm just calling this out specifically because unlike context, where if you try to access it, it will just blow up, there are some popular state managers out there that you could access from a server component, but I can't stress enough how much you should not be doing that.

    Now let's do one more experiment as we send data from server components to client components. So I'm going to go copy this fetch to our main page. Again, I'll turn this into an async function so we can use a wait. So now we're making exactly the same fetch from both home and also the server component. If you're like, "Oh no, we're going to get two fetches.

    That's terrible performance." Well, actually, no. Next.js is going to see that we're fetching from exactly the same point and we're going to use the same data in both places. We're only going to make one fetch. All right, let's go take that data and then send it to our client component. So I'll concatenate firstName and lastName and send those as name. Then over in our client component, we'll just add a property for that.

    And then we'll put it out in our client component. And we can see no problem at all. We've tunneled our state from our server component to our client component. Now, this works really well for all kinds of data, for strings like we did here, numbers,

    booleans, dates, arrays, objects. But there's one thing you can't send, a function. So if I go back over here to our client component and I try to send an onClick, even though we don't actually handle onClicks, if I hit save, we get a blow up here because

    event handlers cannot be passed from a server component to a client component. And conceptually, that makes sense, right? Because if you're going to click on something on the client, it's not naturally going to go back to the server unless you actually wire up, well, in this case, some server actions. But I'll show you about that in just a bit. In the meantime, let's take that onClick handler out of there.

    And now that we have a better grounding in client versus server components, let's go back into our application and add authorization.