Turborepo is a lightweight monorepo solution that integrates nicely with Vercel. When you need a monorepo setup for your project, Turborepo is a great choice. Let's walk through the process of creating a new Turborepo project and adding a Next.js application to it.
Setting Up a New Turborepo Project
To create a new Turborepo project, use the create-turbo command with pnpm dlx:
pnpm dlx create-turbo@latest
When prompted, provde a name next-on-turbo along your preferred package manager. In this example, we'll proceed with pnpm.
Once the project is created, open it in your editor. You'll notice two primary folders in the Turborepo structure: packages and apps.
The packages folder houses shared packages that can be used across different applications within the monorepo. By default, Turborepo sets up a docs site and a web site inside of the apps directory. The web site is built with Next.js.
Creating a New Next.js App
Since the boilerplate Next.js app in Turborepo may not always be up to date with the latest version, let's create a new Next.js application within our monorepo.
First, remove the docs app as we won't be needing it. Now, navigate to the apps directory in your terminal and use the create-next-app command to generate a new project called main-site:
cd apps
pnpm dlx create-next-app@latest main-site --use-pnpm
Select the default options for the Next.js project setup.
At this point, we have two Next.js apps in our monorepo: main-site and web. Let's clean up the main-site app by removing the unnecessary .gitignore and README.md files.
Configuring the New Next.js App
To ensure consistency across our monorepo, we'll port over some configuration files from the web app to our newly created main-site app.
ESLint Configuration
Copy the .eslintrc.js file from the web app to the main-site app. This file is preconfigured to use the eslint-config package from the Turborepo project.
Package Dependencies
Open the package.json file from the main-site app and add the @repo dependencies that are present in Turborepo's default web app.
The dependencies section should have @repo/ui, and the devDependencies section should include @repo/eslint-config and @repo/typescript-config:
// inside package.json
  "dependencies": {
    "@repo/ui": "workspace:*",
    "react": "^18",
    "react-dom": "^18",
    "next": "14.1.4"
  },
  "devDependencies": {
    "typescript": "^5",
    "@repo/eslint-config": "workspace:*",
    "@repo/typescript-config": "workspace:*",
    ...
These dependencies include a shared UI library (ui), a custom ESLint configuration (eslint-config-custom), and a shared TypeScript configuration (tsconfig).
TypeScript Configuration
Update the tsconfig.json file in the main-site app to extend the shared TypeScript configuration:
// inside package.json
{
  "extends": "@repo/typescript-config/nextjs.json",
  "compilerOptions": {
    "plugins": [
      {
        "name": "next"
      }
    ]
  },
  "include": [
    "next-env.d.ts",
    "next.config.js",
    "**/*.ts",
    "**/*.tsx",
    ".next/types/**/*.ts"
  ],
  "exclude": ["node_modules"]
}
Installing Dependencies and Launching the App
With our new app configured, let's install the dependencies by running the following command from the root of the Turborepo project:
pnpm i
This command will install all the necessary dependencies for the main-site app and link the shared packages.
Now, remove the web app since we won't be using it. To launch our main-site app, run the following command from the project root:
pnpm dev
The main-site app will start in development mode. Open your browser and navigate to http://localhost:3000 to see the default Next.js starter page.
Utilizing Shared UI Components
One of the key benefits of using a monorepo is the ability to share code among different projects. Let's demonstrate this by using a shared UI component from the ui package in our main-site app.
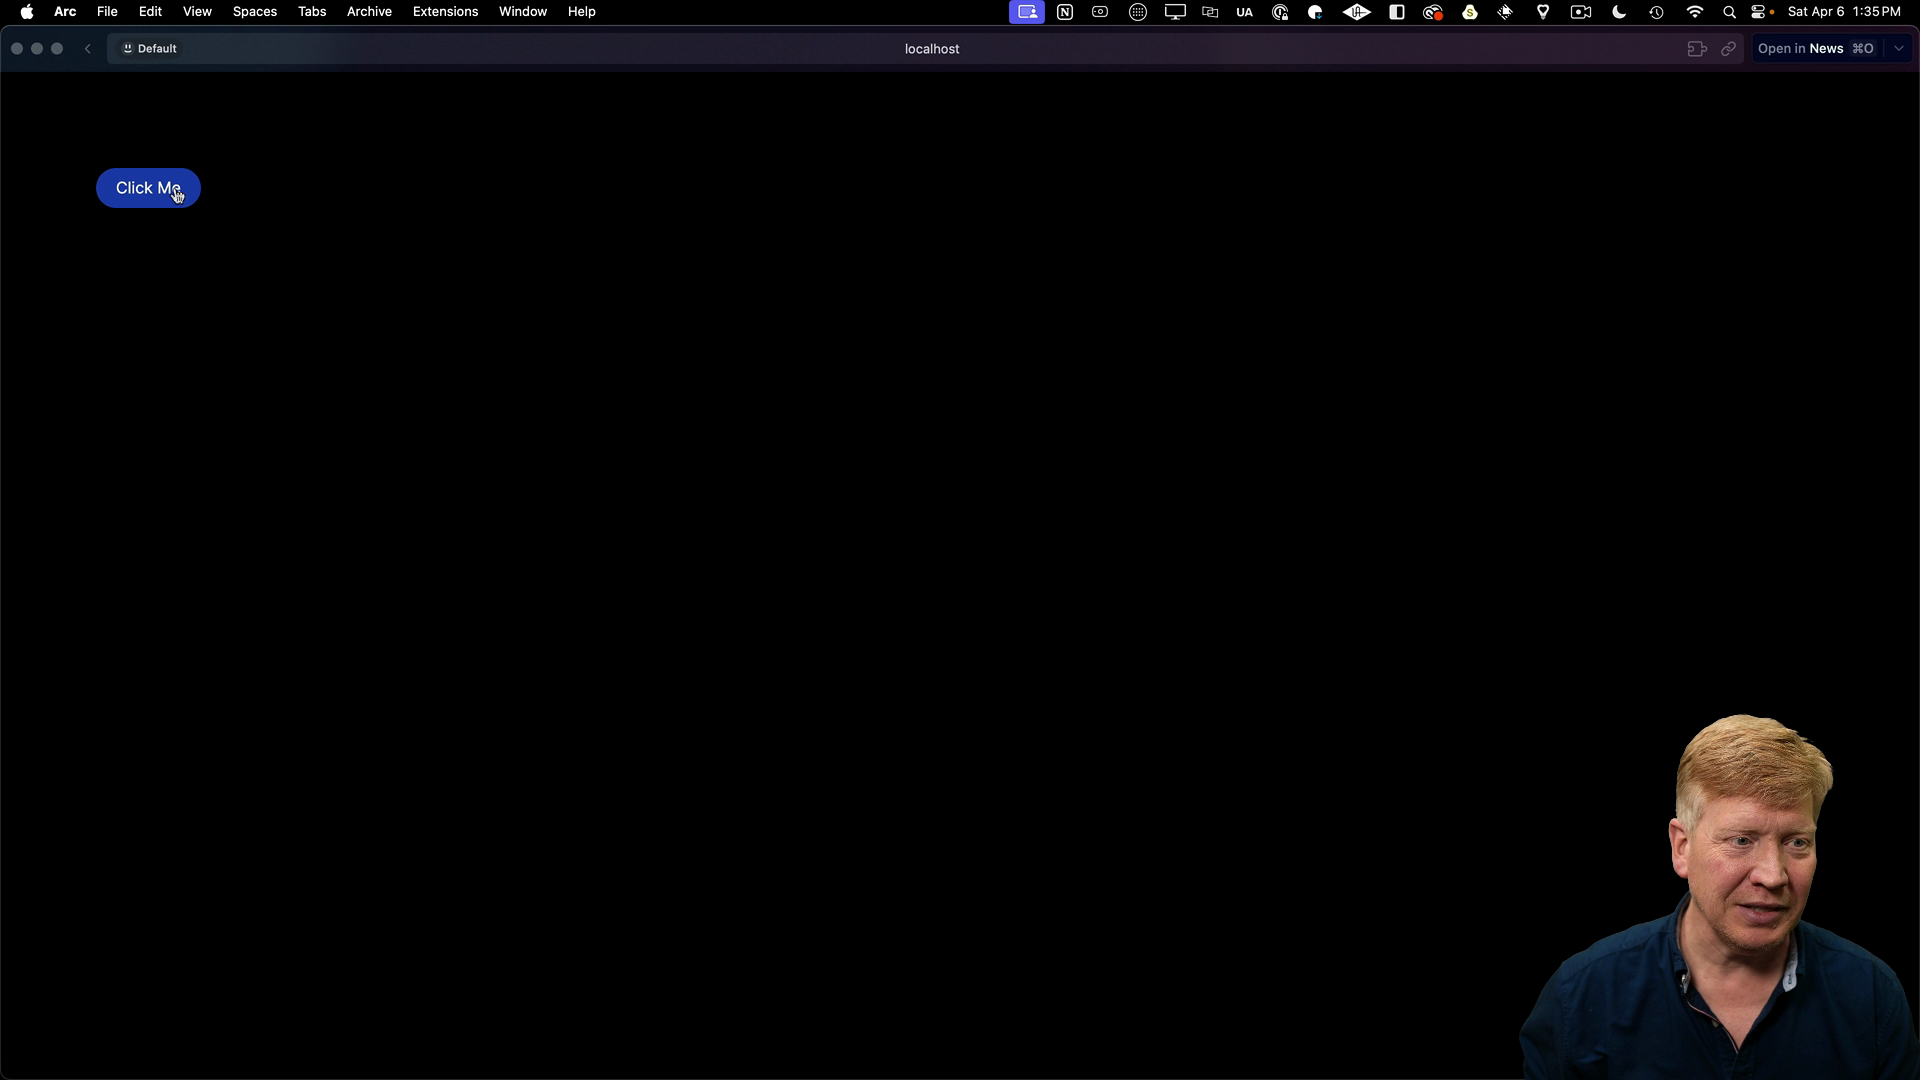
The ui package exports a Button component. Open the app/page.tsx file in the main-site app and replace its contents with the following code:
import { Button } from "@repo/ui/button";

export default function Home() {
  return (
    <main className="p-24">
      <Button
        appName="main-site"
        className="px-5 py-2 rounded-full bg-blue-800 text-white"
      >
        Click Me
      </Button>
    </main>
  );
}
Save the file and refresh your browser. You should now see a button labeled "Click me". Clicking the button will trigger an alert that says "Hello from main-site app!".

If you inspect the implementation of the Button component in packages/ui/src/button.tsx, you'll find that it simply renders a button that triggers an alert when clicked.
// inside packages/ui/src/button.tsx

export const Button = ({ children, className, appName }: ButtonProps) => {
  return (
    <button
      className={className}
      onClick={() => alert(`Hello from your ${appName} app!`)}
    >
      {children}
    </button>
  );
};
Adding a Clean Script
As a final step in setting up our Turborepo project, let's add a clean script to easily remove all the node_modules directories from the project, including the root directory and all the apps and packages.
First, install the rimraf package at the root of the project:
pnpm add rimraf -D -w
Note that the -w flag is necessary to force the installation of the package at the root level, which is not the typical location for installing dependencies for a monorepo project.
Next, add the following script to the package.json file at the project root:
// inside package.json at root
"scripts": {
  ...
  "clean": "rimraf node_modules */**/node_modules"
}
Now, whenever you need to remove all the nested node_modules directories and start fresh, simply run pnpm clean.
By following these steps, you now have a solid foundation for building monorepo applications using Turborepo and Next.js!