Note: to get rid of the TS error with the express and cors imports add the "esModuleInterop": true option to time-api/tsconfig.json
{
  "compilerOptions": {
    "lib": ["ES2015"],
    "outDir": "./dist",
    "esModuleInterop": true
  },
  "exclude": ["node_modules"],
  "include": ["."]
}
You might have noticed that Next.js caches data from fetches made inside of React Server Components. It's called the data cache, and we can experiment with it using a simple time API.
For this example, we'll use a small express server located in the same directory as our Next.js project. The server exposes a /time endpoint on port 8080 that returns the current time, updating every second.
Here's the code:
// inside time-api/index.ts

import express from "express";
import cors from "cors";

const port = process.env.PORT || 8080;
const app = express();

app
  .disable("x-powered-by")
  .use(cors())
  .get("/time", (_, res) => {
    return res.json({ time: new Date().toLocaleTimeString() });
  })
  .listen(port, () => {
    console.log(`REST api running on ${port}`);
  });
Let's start the API server:
cd api-time
pnpm start
Now, let's create a new route in our Next.js app at src/app/api-time. This route will fetch the current time from our API and display it on the page:
// app/api-time/page.tsx

export default async function APITime() {
  const timeReq = await fetch("http://localhost:8080/time");
  const { time } = await timeReq.json();

  console.log(`Render /api-time ${new Date().toLocaleTimeString()}`);

  return (
    <div>
      <h1 className="text-2xl">Time From API</h1>
      <p className="text-xl">{time}</p>
    </div>
  );
}
After building and starting our Next.js app, we can see that the /api-time route is being treated as a static page.
Even though our API is constantly updating, navigating to http://localhost:3000/api-time will always display the same time. This is because Next.js statically caches the response by default.
Using the noStore Cache Option
To make the time update dynamically, we can tell Next.js not to cache the response. We can do this using the cache: 'no-store' option in our fetch request:
// app/api-time/page.tsx

export default async function APITime() {
  const timeReq = await fetch("http://localhost:8080/time", {
    cache: "no-store",
  });

  ...
Now, when we build and start our app, the /api-time route will be marked as dynamic, and the time will update on each request!
Revalidating the Cache
As an alternative to the no-store option, we can still take advantage of static site generation while keeping our content up-to-date using revalidation.
Next.js provides a revalidate option that allows us to specify how often a statically generated page should be regenerated.
Let's set our API time route to revalidate every 2 seconds:
// app/api-time/page.tsx

export default async function APITime() {
  const timeReq = await fetch("http://localhost:8080/time", {
    next: {
      revalidate: 2
    },
  });

  ...
With this change, our /api-time route remains statically generated, but Next.js will regenerate the page every 2 seconds, ensuring our displayed time is relatively up-to-date.
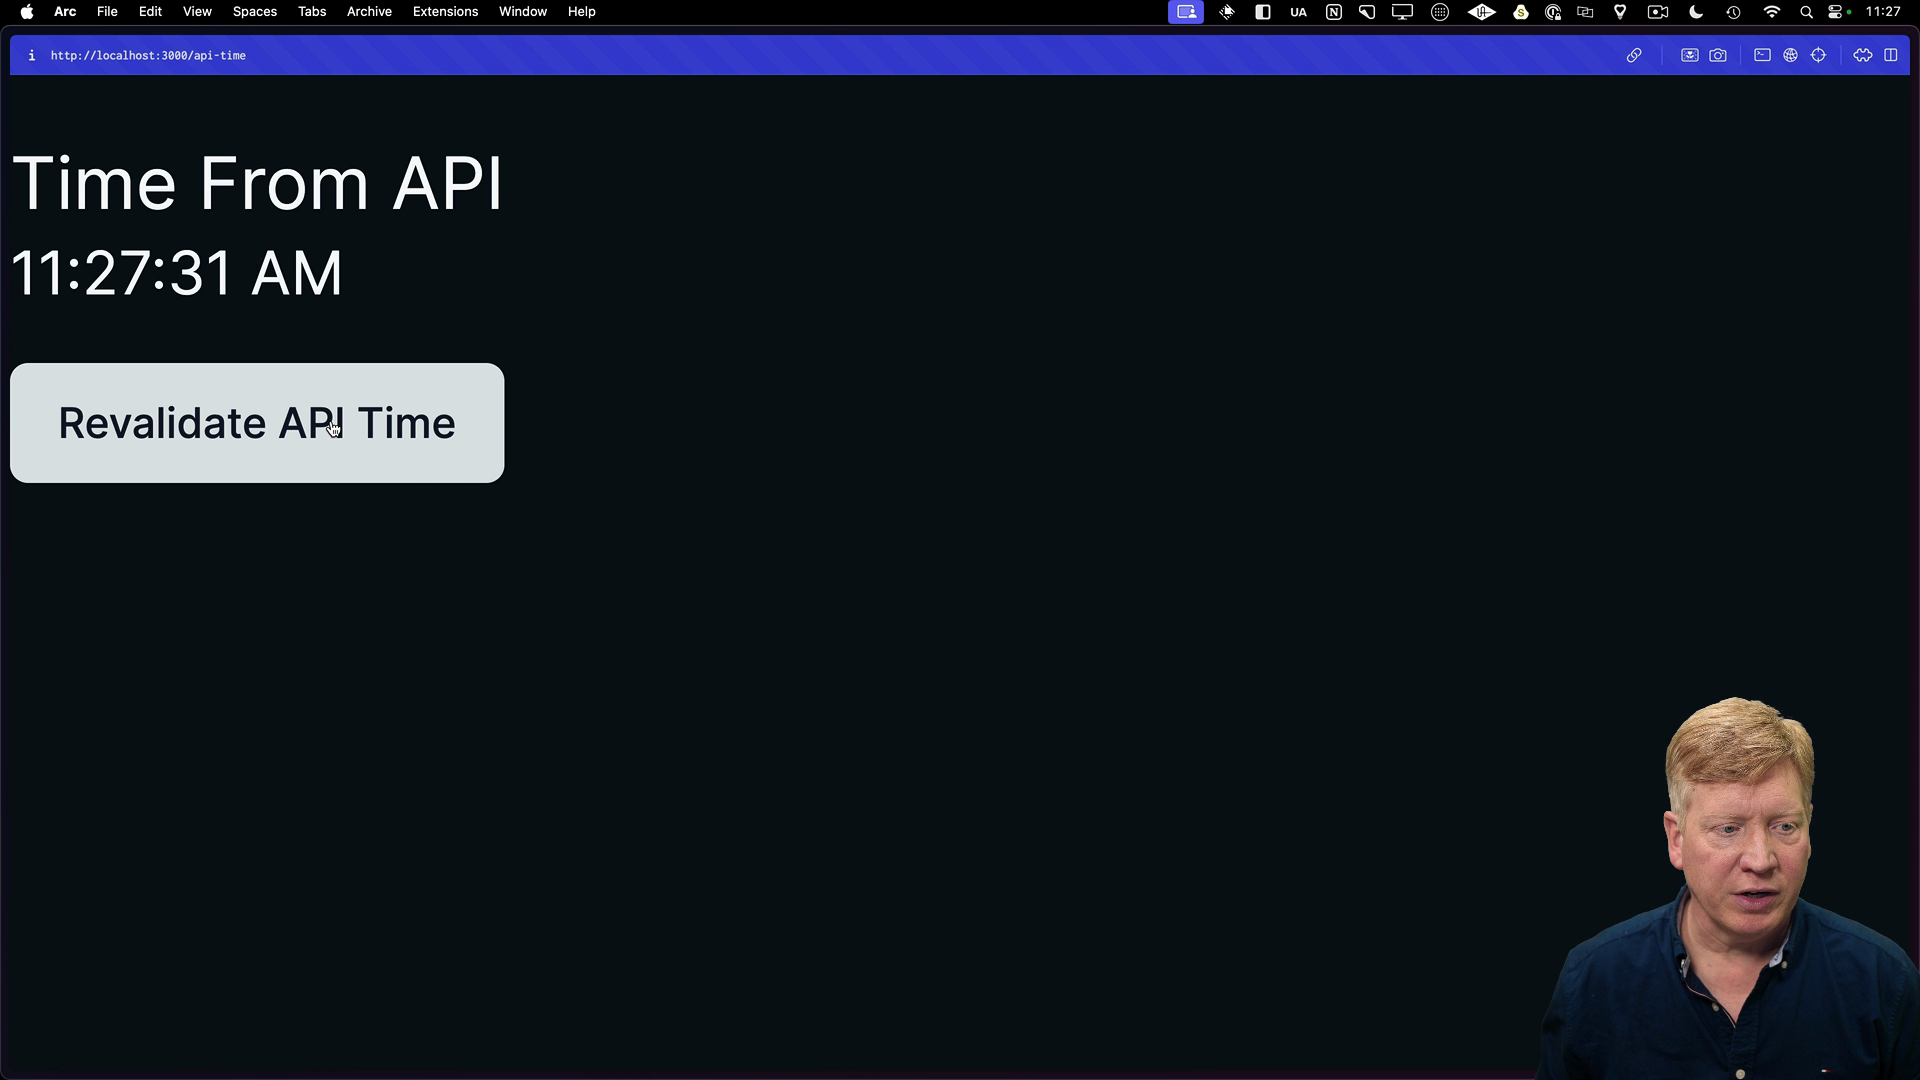
On-Demand Revalidation with Server Actions
We can also trigger revalidation on demand using Server Actions. Let's add a button to our app/page.tsx that will revalidate our /api-time route when clicked.
Here's the code for the RevalidateAPITimeButton:
// inside app/api-time/RevalidateAPITimeButton.tsx

"use client";
import { Button } from "@/components/ui/button";

export default function RevalidateAPITimeButton({
  onRevalidate,
}: {
  onRevalidate: () => Promise<void>;
}) {
  return (
    <Button onClick={async () => await onRevalidate()} className="mt-4">
      Revalidate API Time
    </Button>
  );
}
Then inside of app/page.tsx, we can import and use the RevalidateAPITimeButton:
// app/page.tsx

import RevalidateAPITimeButton from "./RevalidateAPITimeButton";

export default async function Home() {
  // ...existing code
    async function onRevalidate() {
    "use server";
    revalidatePath("/api-time");
  }


  console.log(`Render /api-time ${new Date().toLocaleTimeString()}`);

  return (
    <div>
      <h1 className="text-2xl">Time From API</h1>
      <p className="text-xl">{time}</p>
      <RevalidateAPITimeButton onRevalidate={onRevalidate} />
    </div>
  );
}
Now, when we click the button, Next.js will revalidate the /api-time route, fetching the latest time from our API. However, other statically generated content on our site, like our home page at /, will remain cached.
Revalidating with Tags
We can also control which pieces of content get revalidated using tags.
Let's update our /api-time route to include a tag.
// app/api-time/page.tsx

export default async function APITime() {
  const timeReq = await fetch("http://localhost:8080/time", {
    next: {
      tags: ["api-time"],
    },
  });

  async function onRevalidate() {
    "use server";
    revalidateTag("api-time");
  }
Now, we can revalidate everything associated with the api-time tag using revalidateTag.
Clicking the button will now revalidate any content tagged with api-time, ensuring our home page also displays the updated time.
This tagging mechanism offers a flexible way to manage data invalidation across our application, especially when working with databases and filesystems. We'll explore these concepts further in the next lesson.