ProNextJS
    Loading
    lesson

    Testing with Vitest

    Jack HerringtonJack Herrington

    In this lesson, we'll explore how to set up and use the vitest framework to write unit tests for your Next.js application.

    Setting up the Next.js Application

    To get started, we'll create a new Next.js application called "testing-with-vitest" and select our standard configuration options with TypeScript, ESLint, Tailwind CSS, and the App Router structure:

    pnpm dlx create-next-app@latest testing-with-vitest --use pnpm
    

    Next, we'll add the necessary dev dependencies to support the testing framework. These dependencies fall into two main categories: Testing Framework Dependencies and JSDOM & Testing Library Dependencies.

    For the testing framework, we'll install the core vitest library and the React plugin @vitejs/plugin-react as well as the @vitest/ui package. For JSDOM and Testing Library support, we'll install jsdom and the react and user-event plugins for testing-library:

    pnpm add vitest @vitejs/plugin-react @vitest/ui jsdom @testing-library/react @testing-library/user-event -D
    

    These dependencies allow us to test React components efficiently by rendering them in memory using JSDOM, rather than spinning up a browser for each test.

    However, the core concepts we discuss here can be applied to testing any kind of code.

    Configuring vitest

    To configure vitest, create a new file called vitest-config.ts in the project root with the following code:

    import { defineConfig } from "vitest/config";
    import react from "@vitejs/plugin-react";
    
    export default defineConfig({
      plugins: [react()],
      test: {
        environment: "jsdom",
      }
    });
    

    In this file, we specify the React plugin and set the testing environment to JSDOM, making it easier to test React components.

    Next, in the package.json file add the following scripts to run the tests:

    {
      "scripts": {
        ...
        "test": "vitest run",
        "test:ui": "vitest --ui",
        "test:watch": "vitest --watch"
      }
      ...
    

    Writing a Simple Test

    Let's simplify the Home component to make it easier to test. Replace the existing code in app/page.tsx with the following:

    // inside app/page.tsx
    
    export default function Home() {
      return (
        <main>
          <h1>Counter Test</h1>
        </main>
      );
    }
    

    Next, we'll create a new file called app/page.test.tsx next to the page.tsx file:

    import { expect, test } from "vitest";
    import { render, screen } from "@testing-library/react";
    import HomePage from "./page";
    
    test("Basic page test", () => {
      render(<HomePage />);
      expect(screen.getByText("Counter Test")).toBeDefined();
    });
    

    In this test file, we import the necessary modules from vitest and @testing-library/react, as well as the Home component. We write a simple test using the test function from vitest, render the Home component using the render function from the testing library, and assert that the rendered component contains the text "Counter Test".

    Running the Tests

    In the terminal, run pnpm test and see the test pass successfully:

    the test passes

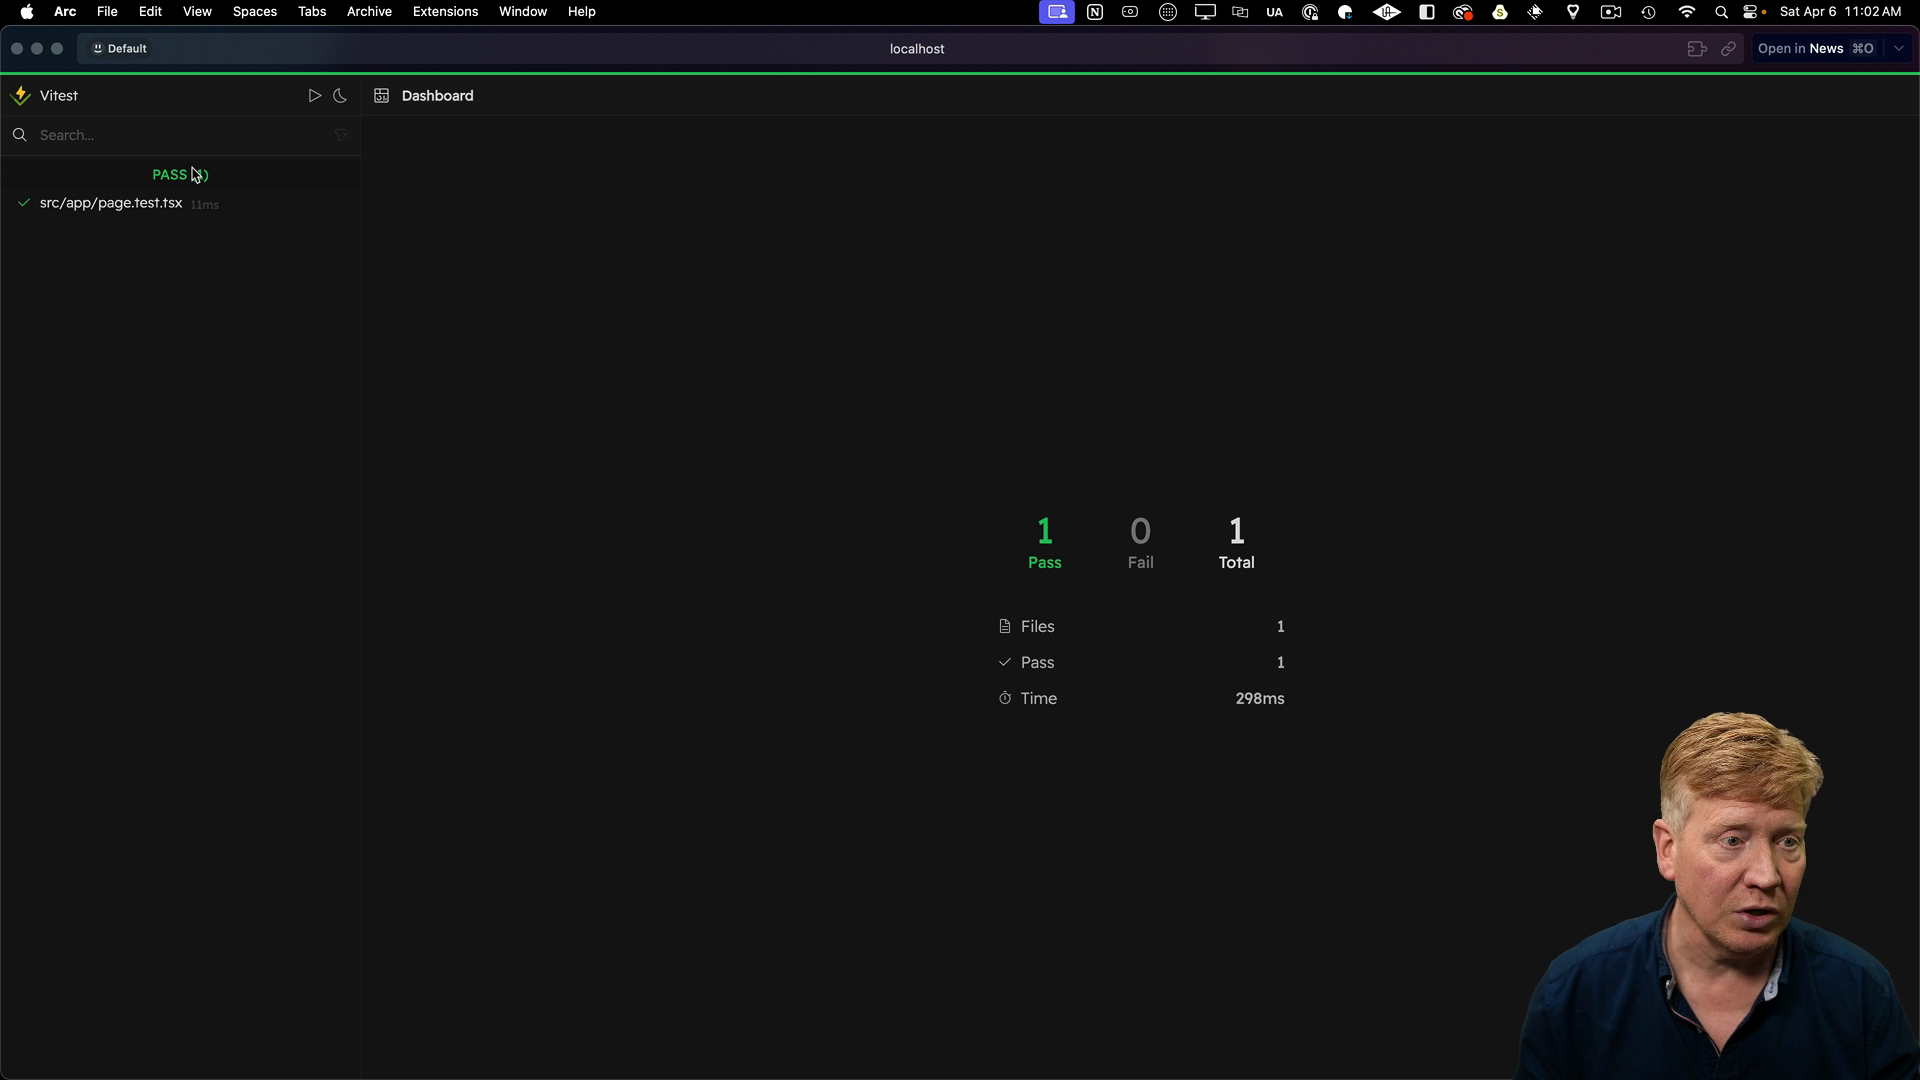
    You can also run the tests in watch mode using pnpm test:watch or launch the test UI with pnpm test:ui.

    Here's how the test UI looks:

    the vitest ui

    If you change the text in the Home component and save the file, the test will re-run automatically and report a failure since the expected text has changed:

    the ui showing the failing test

    Testing a Client Component

    Now that we have one test passing, let's create a new client component called Counter and test it.

    Create a new file app/Counter.tsx with the following code:

    // app/Counter.tsx
    "use client";
    
    import { useState } from "react";
    
    export default function Counter() {
      const [count, setCount] = useState(1);
    
      return (
        <div>
          <p data-testid="count">Count: {count}</p>
          <button onClick={() => setCount(count + 1)}>Increment</button>
          <button onClick={() => setCount(count - 1)}>Decrement</button>
        </div>
      );
    }
    

    Note that the p tag has a data-testid of count that will help us target it in our test.

    Update the app/page.tsx file to include the Counter component:

    // inside app/page.tsx
    import Counter from './counter';
    
    export default function Home() {
      return (
        <main>
          <h1>Counter Test</h1>
          <Counter />
        </main>
      );
    }
    

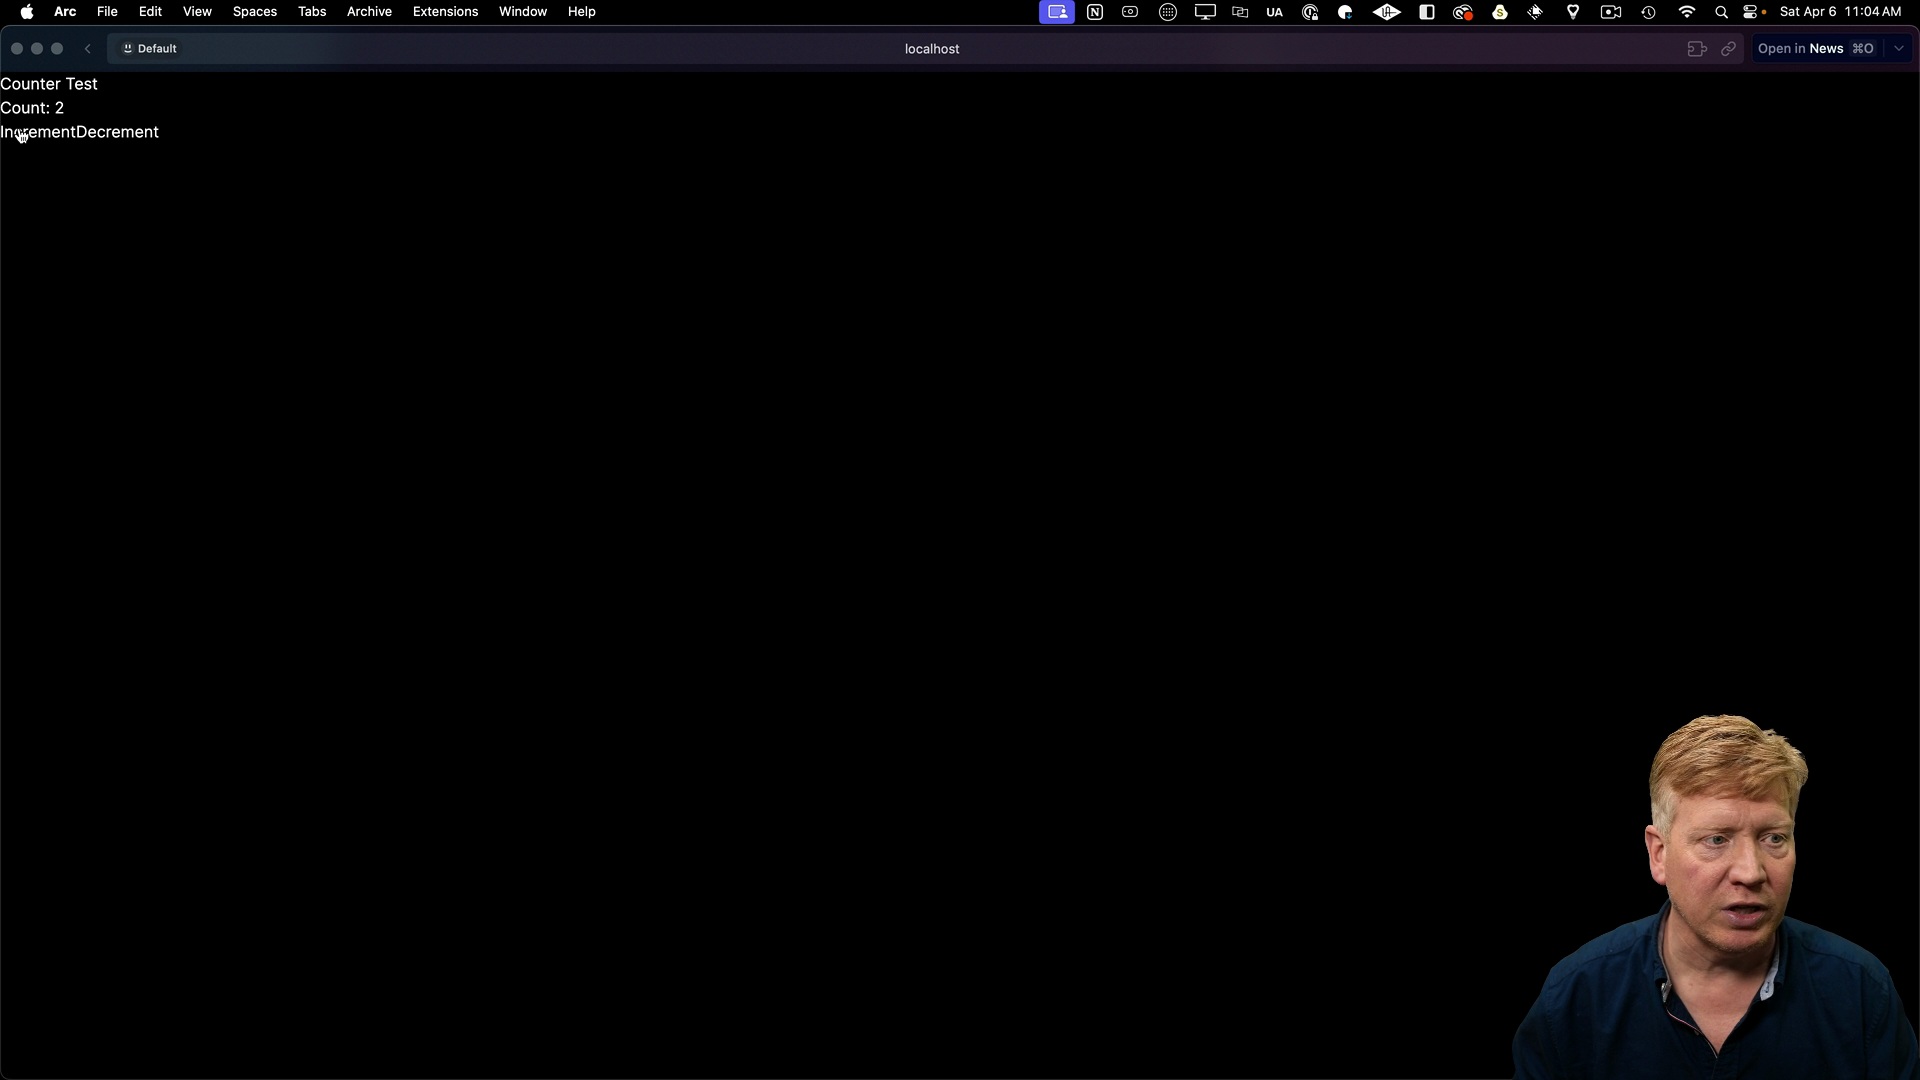
    Starting the app with pnpm dev should show the unstyled counter component on the home page:

    unstyled counter

    To test the Counter component, create a new file app/Counter.test.tsx:

    import { expect, test } from "vitest";
    import { render, screen } from "@testing-library/react";
    import userEvent from "@testing-library/user-event";
    import Counter from "./Counter";
    
    test("tests a counter", async () => {
      render(<Counter />);
      await userEvent.click(screen.getByText("Increment"));
      expect(screen.getByTestId("count")).toHaveTextContent("Count: 2");
    });
    

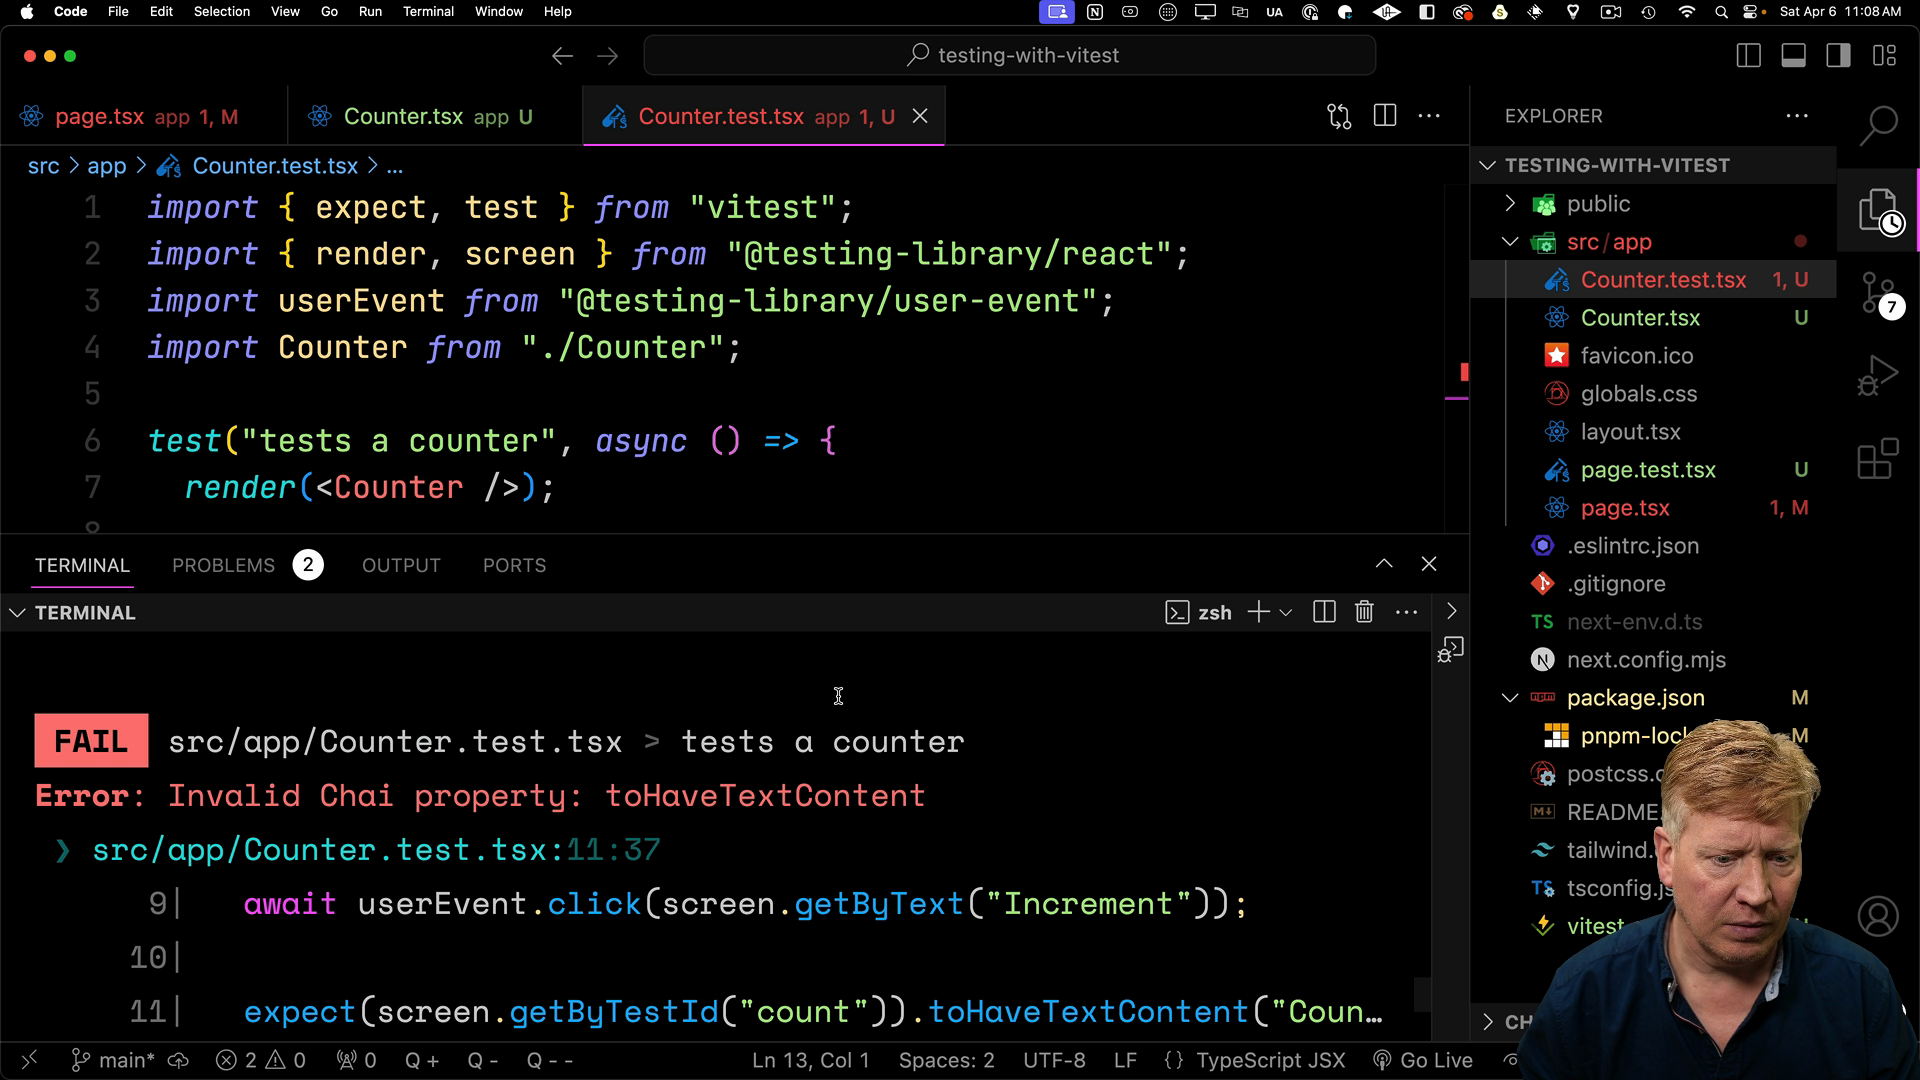
    In this test, we render the Counter component, click the increment button using userEvent, and assert that the count display has the expected text content of "Count: 2".

    When trying to run the tests at this point, there will be an error that toHaveTextContent is not a valid matcher:

    error with toHaveTextContent

    To fix the "toHaveTextContent" error, we need to import the @testing-library/jest-dom/vitest package which we will do in a setup file called vitest-setup.ts:

    // vitest-setup.ts
    import '@testing-library/jest-dom/vitest';
    

    Then we need to update the vitest-config.ts file to include the setup file:

    // vitest-config.ts
    import { defineConfig } from 'vitest';
    import react from '@vitest/react';
    
    export default defineConfig({
      plugins: [react()],
      test: {
        environment: 'jsdom',
        setupFiles: ['./vitest-setup.ts'],
      },
    });
    

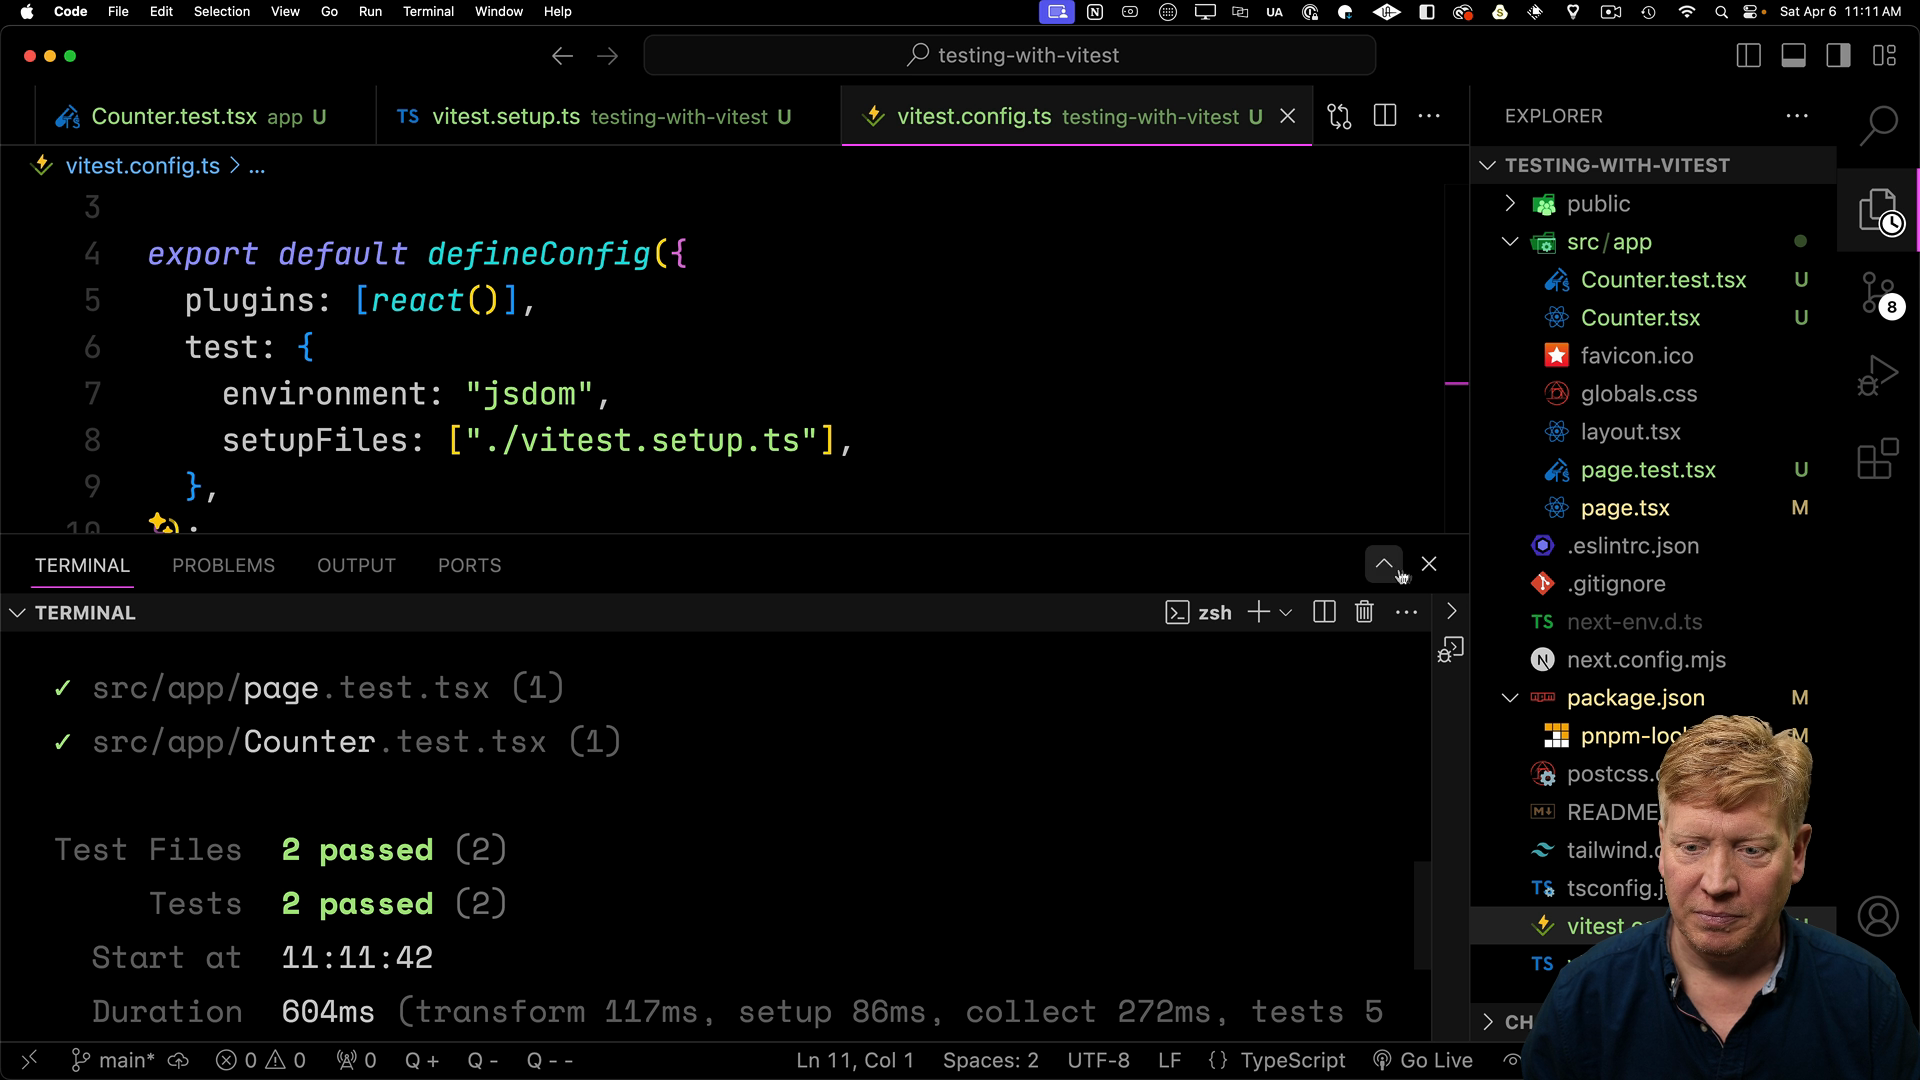
    Now, running the tests should show that both tests pass!

    tests are passing

    Recap

    In this lesson, we covered how to set up and use vitest to write unit tests for your Next.js application, focused on testing both React Server Components and client components.

    When a more "official" way to test asynchronous React Server Components becomes available, we'll update this lesson with the necessary information.

    Transcript

    We are going to cover how to test your entire Next.js application, but for sure you're going to want to have unit tests in your application. So we're going to look in this video on how to set up your Next.js application with a very popular unit test framework called VI-Test. To start off, we're going to create an application called Testing with VI-Test. I'm going to use all my standards, yes to TypeScript, yes to ESLint, yes to Tailwind, yes to the source directory and the app writer, and no to the import customization. Now that we have our application created, we're gonna go and add a bunch of dev dependency libraries to it.

    And these come in two basic buckets. The first is to support the testing framework, which in this case is VI-Test. So we're gonna bring in VI-Test, and then the React plugin. You can use VI test on a bunch of different frameworks. So this is the plugin for React specifically.

    The second bucket is to support JS DOM and the testing library that uses JS DOM to simulate the JS DOM in memory. We're going to render components into the JS DOM and test them there. It's just a much faster way of testing components than it would be to spin up a browser and take a look at what the browser is actually doing. Now, you can use all of this stuff in addition to testing React components on any type of code in your application. We're just adding these additional dev dependencies to specifically test React components.

    But you can use the basic core expect mechanisms to test any kind of code in your application API code or DB code or anything else. So now that we got that installed we need to configure it. So go back over to our project, create a new file called vitestconfig.ts And now we're going to configure our VI test. This code is available to you in the instructions. We're going to bring in the React plugin, and then we're going to specify that as the plugin to use.

    We're also going to specify that the environment to use for testing is the JS DOM. That's going to make it a lot easier to test React components. So now let's go and take our homepage and make it a component that's easy to test. So now that we have that going, let's add some scripts that make it easy to test. So to our scripts, we'll add three scripts.

    We'll add test, which runs the test runner. We'll add test UI, which brings up a really good looking UI, and we'll add test watch, which allows you to actually keep the test rolling as you actually develop your application. So let's hit save. Now let's simplify home down to something very simple that we can test. So the homepage now just has an H1 in it that says counter test, and we're gonna go write a test to look for that text.

    Now, as I mentioned previously, I prefer to co-locate my tests with the code that they actually test. Other folks use a specific test directory at the top level where they put the code for the test, and it's really far away from the code that actually gets tested. I don't prefer that, so I'm gonna put the test right next to my component. To do that, I'm gonna create a new file called page.test.tsx. It has to be TSX because we're going to be use JSX in here.

    And I'm going to create a very simple test. I'm going to bring in expect and test from the I-test. That's the actual thing that does the testing. We're going to bring in render and screen from the testing library. That's what allows us to use the JS DOM to actually render the component in place and then test against it, creating a virtual screen.

    Then we're going to bring in our page, and then we're going to create a test. Test in this case is basic page test. You can name it whatever you want. We're going to render our component, and then we're going to do an expectation. We're going to say expect that if we look at the screen, we're going to get counter test in there and we expect that's going to be defined.

    So that's going to actually be there. So let's hit save and we'll try and run it. So go back over to our terminal, do PMPM test. And now we can see that we passed. How great is that?

    Okay, cool. So let's try it again with the UI and see what that looks like. All right. So I can't find the VITest UI, let's install it. Then as it tells us, we need to restart it.

    And now we get this really good looking test UI. Look at this, this is gorgeous. So we go in here, we can see the code, see a module graph, what's actually being tested, and it's still running. So if I go back into our Visual Studio Code and I change CounterTest to CounterTest2, hit save, you can see that we failed. We can go over here and now, oh, there we go.

    We can see we failed in the UI too. Wow, That is gorgeous. So why did we fail? Well, we failed because the getByText is looking for the text of a full tag to match whatever this text is. So in this case, counter text.

    So I'm going to set that back and there we go. All right, now that was a test of a non-asynchronous React server component. Let's try a client component and see how that tests. So we'll create the counter by creating a counter.tsx file. In there, we'll bring a simple counter.

    We're going to specify that we have some state count, and have a decrement and an increment button, and then we're going to have a count displayed. That's going to be inside of a p tag, and we're going to identify that p tag by using a data test ID. That's going to make it really easy to go find that count, because as we virtually click one of those using the testing library we're gonna want to see if that count goes up by one. But let's try it in real life first. Go into our page.tsx and bring in that counter.

    And we'll bring it up in dev mode. And there we go. We got our unstyled counter, but definitely works. So now let's go and build a test around this. Now, as I say, I'm a big fan of co-location, so I'm again going to go and put that test file right next to counter.

    So again, we're gonna bring in the fundamentals of expect, test, render, and screen. But this time we're also going to add user event. That's how we're going to generate that click. Then we're going to also bring in our component. We're going to render our component.

    We're going to actually click on the increment button, and then we're going to use that test ID to get the count, and we're going to expect it to have the text content of count two, but let's actually try it first and see. Now to fix this issue with to have text content, I could bring in that library directly, that is the library just on the vitest directory that actually has those extensions to expect. But I want to use that basically on every single component of my test. So I want to use that in a setup file so that it's there available for all of the tests. To do that, I'm going to create a new setup file.

    We'll call that vitest setup.ts and we'll simply just bring in that import. Then in our config, we'll also bring in the setup files that we just created, and we'll give that a try. And there we go, two passed, awesome. Now when it comes to testing asynchronous React Server Components, that can actually be a little bit troublesome. And as of this particular production time, it's not quite clear how to do it the right way.

    We're just still working on that. So I'm going to leave that for the next video. And then later on as the course evolves, I'm going to change out that video once we have a much better story around React Server Component Testing for asynchronous React Server Components. I'll see you in the next video.