ProNextJS
    Loading
    lesson

    Setting up ESLint and Prettier

    Jack HerringtonJack Herrington

    Before writing a lot of code in your Next.js project, it's important to set up linting and formatting to keep your code clean and consistent. This is especially important when working with others. who may have different coding styles.

    Creating an Example App

    To demonstrate, we'll create a new Next.js application called eslint-prettier using pnpm for a package manager:

    pnpm dlx create-next-app@latest eslint-prettier --use-pnpm
    

    When selecting configuration options, choose TypeScript, ESLint, Tailwind CSS, and use the src directory for your source files. This setup will help you follow along with the examples. Do not customize the default import alias.

    Linting with ESLint

    Next.js projects come with ESLint set up, using the next/core-web-vitals config:

    // inside .eslint.json
    {
      "extends": "next/core-web-vitals"
    }
    

    This default config has the strictest linting rules. To check if your code follows these rules, open your terminal and run:

    pnpm run lint
    

    This command will look at your code for any linting errors. Since we just created the Next.js app, your code should be clean, so you won't see any issues.
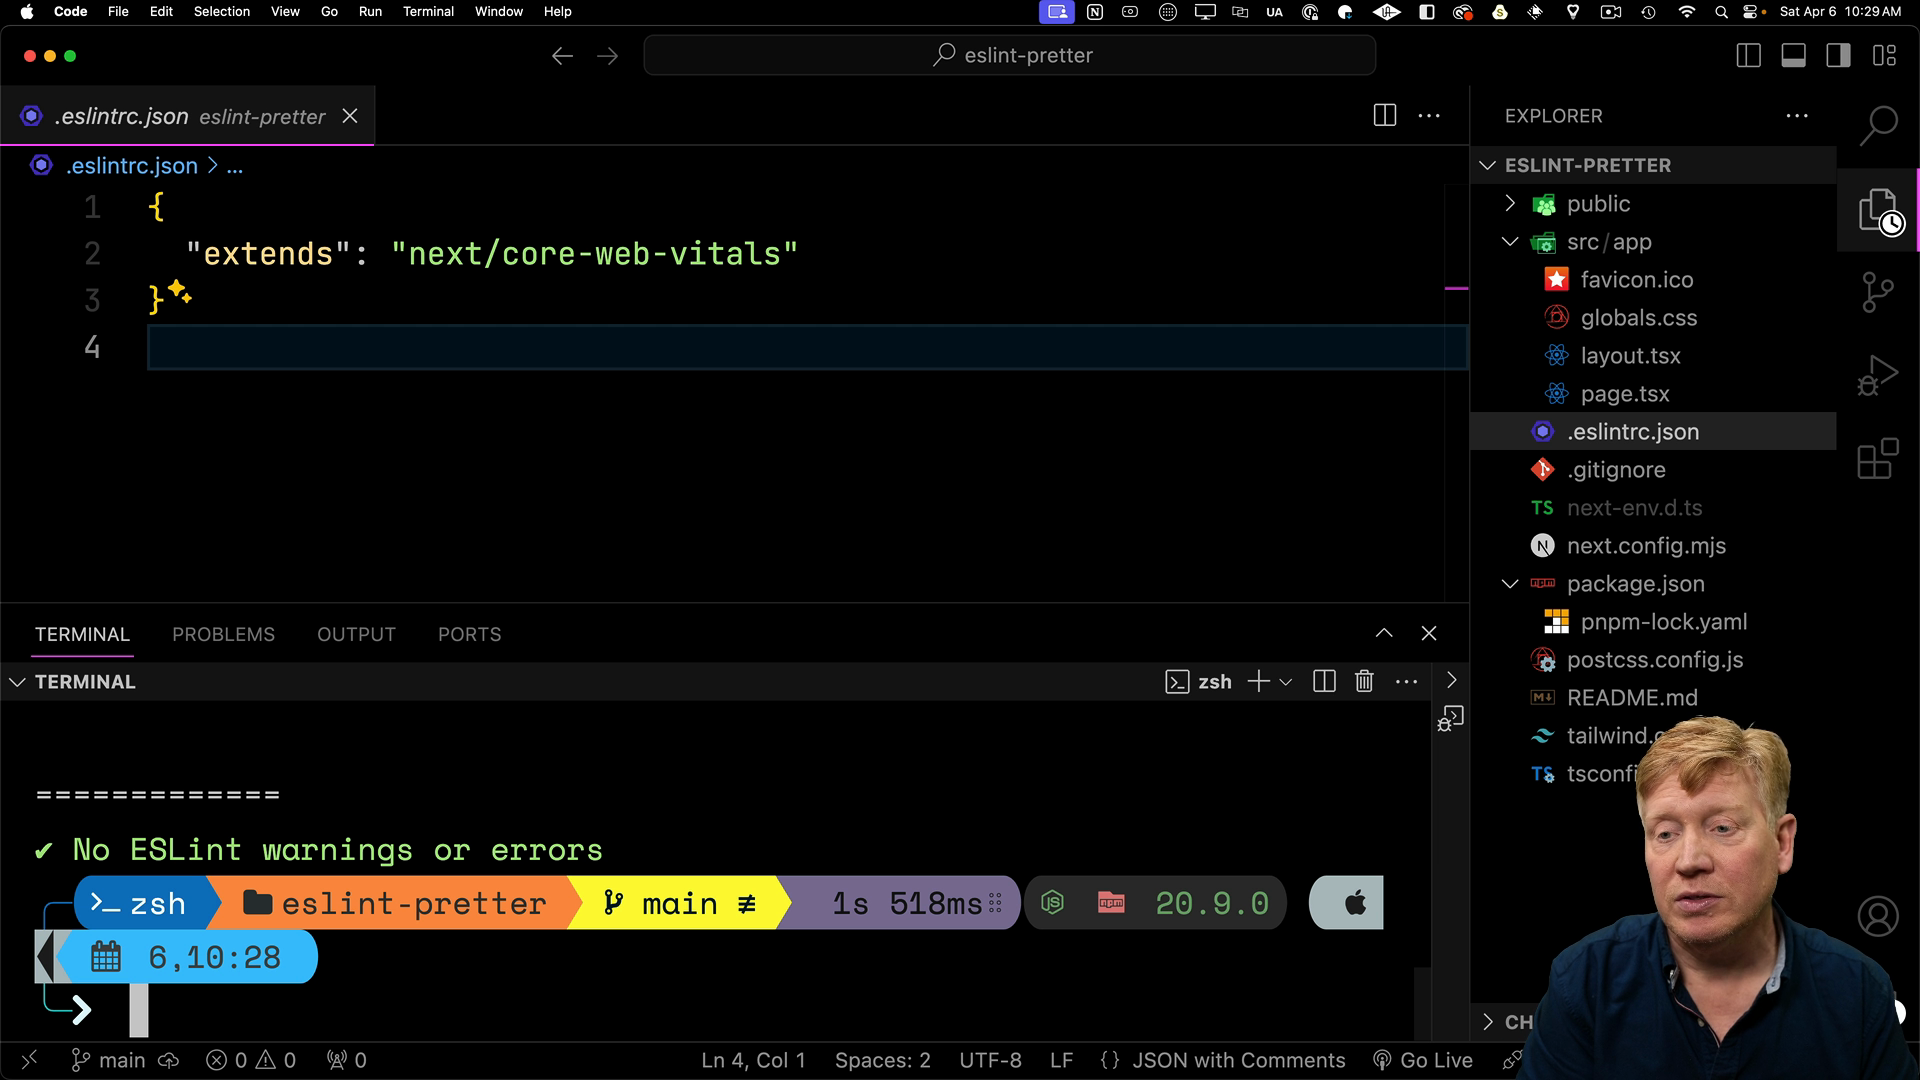
    No ESLint warnings or errors

    Adding Prettier for Code Formatting

    Along with ESLint, we'll add Prettier, a code formatter that automatically styles your code consistently. This helps keep your code looking the same, even when multiple developers are working on the project.

    First, install the dependencies:

    pnpm add eslint-config-prettier prettier prettier-plugin-tailwindcss -D
    

    This command installs:

    • eslint-config-prettier: This package makes ESLint and Prettier work together without conflicts.
    • prettier: The main Prettier package for code formatting.
    • prettier-plugin-tailwindcss: This plugin formats Tailwind CSS classes in your code.

    Next, set up ESLint to use Prettier by updating the .eslintrc.json file:

    // inside .eslintrc.json
    
    {
      "extends": ["next/core-web-vitals", "prettier"]
    }
    

    This update tells ESLint to use the Prettier settings, and avoids issues that come up when their configurations don't agree.

    Configuring Prettier

    To configure Prettier, create a .prettierrc.json file in the project's root directory to set the formatting styles:

    {
      "trailingComma": "es5",
      "semi": true,
      "tabWidth": 2,
      "singleQuote": false,
      "jsxSingleQuote": false,
      "plugins": ["prettier-plugin-tailwindcss"]
    }
    

    Here's what the above options do:

    • trailingComma: Allows trailing commas in your code.
    • semi: Makes sure you use semicolons.
    • tabWidth: Sets the indentation to two spaces.
    • singleQuote and jsxSingleQuote: Setting to false will use double quotes for regular code and JSX.
    • plugins: This optional setting includes the Tailwind CSS plugin for formatting Tailwind classes.

    Save the file, and Prettier will format your code using these settings whenever you save a file. VSCode has a "Toggle Autosave Option" you can check to ensure this happens automatically.

    Testing Prettier and Tailwind Integration

    To test the configuration, open the page.tsx file which includes Tailwind CSS classes. Save the file and notice that Prettier reorders the class names to be grouped together by function.

    Additional Prettier Plugins

    The Tailwind plugin is just one example, but there are many other Prettier plugins that can improve your code formatting. A popular one is the sort-imports plugin, which sorts your import statements automatically.

    To use it, install the plugin:

    pnpm add @ianvs/prettier-plugin-sort-imports -D
    

    Then, add the plugin and set the import order in your .prettierrc.json file:

    // inside .prettierrc.json
    {
      // ... other settings
      "plugins": ["prettier-plugin-tailwindcss", "sort-imports"],
      "importOrder": [
        "^(react/(.*)$)|^(react$)",
        "",
        "<THIRD_PARTY_MODULES>",
        "",
        "^[./]"
      ]
    } 
    

    The settings for importOrder configuration will put React imports first, then third party modules, then local imports, with blank lines between them.

    Re-save a file in the project and see how imports are now sorted automatically.

    Establishing Consistent Standards

    Setting up linting and formatting tools early in your project is important for keeping your code clean and consistent, especially when working with others. There are many ESLint rules and Prettier configurations to choose from, but the key is to pick a setup that works for your project and stick with it.

    Transcript

    I strongly recommend that you get some good ESLint and Prettier settings in your application before you start writing a whole lot of code. ESLint is going to do linting, that's going to check for errors in your code, and then Prettier is going to make sure that everything is formatted the same way. If you've got multiple engineers in your project and you don't use Prettier, then some folks will use tabs, some folks will use spaces, some folks will use different indentations, some will use single quotes or double quotes. It'll be a mess and be very difficult to parse through and then code review later on. So you're gonna wanna decide on those standards early.

    And in this video, I'm just gonna show you how to implement those standards. So we'll start by creating a Next.js App Writer application called ESLint Prettier, where we will set up ESLint and Prettier. We use TypeScript. We will build on top of their standard ESLint. We're going to use Tailwind CSS in this example, and that's because I'm going to show you a cool, prettier extension meant specifically to work with Tailwind CSS.

    I'm going to use the source directory. I do in all cases recommend that you use that source directory. And of course I'm going to choose to use the app writer and I'm not going to just the alias. I'll bring that up in VS Code. Now, as we can see, we already have an ESLint RC JSON here.

    It includes the NextCoreWebVitals. That's actually the strictest version of Next Linting. That is what it gives you by default, which I think is actually really good. We're just going to build on top of that, but to actually show you how to use it, I'm going to bring up my terminal and then do pmpm lint. And as you can imagine, they're out of the box.

    Starter kit doesn't have any linting errors in it. So what I'm going to do is specifically install Prettier. Prettier is a code formatting utility, and I'm going to synchronize it with ESLint. This is a traditional issue in applications in the node space where you can get issues between ESLint and Prettier where they argue. I'm going to show you how to avoid that by extending the ESLint setup with a Prettier configuration so that it understands what Prettier is doing and doesn't fight with it.

    To do that I'm going to install some dev dependencies including eslint-config-prettier that is what's going to synchronize eslint with Prettier and of course bring in Prettier and then the prettier plugin for Tailwind. If you're not using Tailwind, you don't need to do this, but this is one of the plugins that we're going to bring in to sort the Tailwind classes. Then over in our ESLint config, I'm going to turn extends into an array and tell it that we're going to use that Prettier plugin as well as the strict Next Core Web Vitals. Now I need to set up Prettier, so I'm going to go back to the project view, and I'm going to create a new file called PrettierRC.json. In there, I'm going to set up my Prettier configuration.

    So I'm going to say that I'm okay with trailing commas. I use semicolons after every line. I want the tab width to be two spaces. And I personally am a fan of double quotes, both for code and also for JSX. So I'm going to set single quote to false and JSX single quote to false.

    If you are a single quote fan, then set those both to true. Now Prettier supports its own plugins, so I'm gonna bring in the plugin for TL1-CSS. To do that, I just simply specify a plugins array and I give it all the plugins I'm gonna use. Let's hit save. And now as I bring up the page.tsx file, let's see if there's any changes there.

    So I have my VS Code set up to format on save. That means that it's going to execute prettier as the formatter. So let's see if in the default setup, it actually does the sorting. So there you go, yes, we did a small class name move. That just shows you that our Prettier has now been set up and it's actually doing the sorting of those Tailwind classes.

    Now, even if you're not using Tailwind, there are some other cool extensions to Prettier. Another one that I like to use is an import sorter. So what a lot of folks like to use is the Sort Imports Prettier plugin. There are two different versions, there's a Travago version, and this version is slightly upgraded from the Travago version, so we'll use this one since it's more powerful. Once you return, all right now that that's brought in I can go back into my PrettierJSON.

    I can go and bring that in as a plugin. All right, nothing happens so let's go and go to our PrettierJSON and we get to define which ordering we want. So to do that, we specify the import order. I just like the React stuff at the top, and then I like any third-party modules, and I like the local stuff after that. And the empty lines indicate that I want spacing in between those blocks.

    So let's hit Save, Go back over to our layout, hit save again, and now we can see it's done the right thing. So if I got my globals down here, that's great. So let's say if I bring in new state, for example, if I hit save now, that now pops that right up at the top because of the import order that I gave it. Now, of course, you and your team get to decide for yourselves what kind of import ordering you want in your project, but I do strongly recommend that you specify one because it makes it just so much easier as you're looking through the code that you can reliably know what imports are where, where your local imports are, where your React imports are, where your third party imports are, just makes it a lot easier to read through the code during a PR review. So ESLint and Pretty are the kind of things that you're gonna wanna set up very early on in your project because putting them in later is pretty painful.

    Now there are some folks out there who advocate for having lots of ESLint rules. And when I say lots, I mean in the range of a thousand ESLint rules. I personally don't find any benefit in that, but if that's something that interests you, then there are lots of very hardcore Lint setups out there that you can bring into your project and experiment with to see what rules work for you. And now one of the things you can do with that is you can disable rules or change rules after you bring in that preset, completely up to you how you decide to do that.