ProNextJS
    Professional Next.js Course
    Loading price
    30-Day Money-Back Guarantee
    lesson

    E2E Testing with Playwright

    Jack HerringtonJack Herrington

    Playwright is another option for running E2E tests in your Next.js application. Let's take a look at how it works.

    Initial Project Setup

    Like before, we'll create a new Next.js Application with the following command:

    pnpm dlx create-next-app@latest e2e-with-playwright --use-pnpm
    

    Next, install Playwright and configure it for our project using the following command:

    pnpm create playwright
    

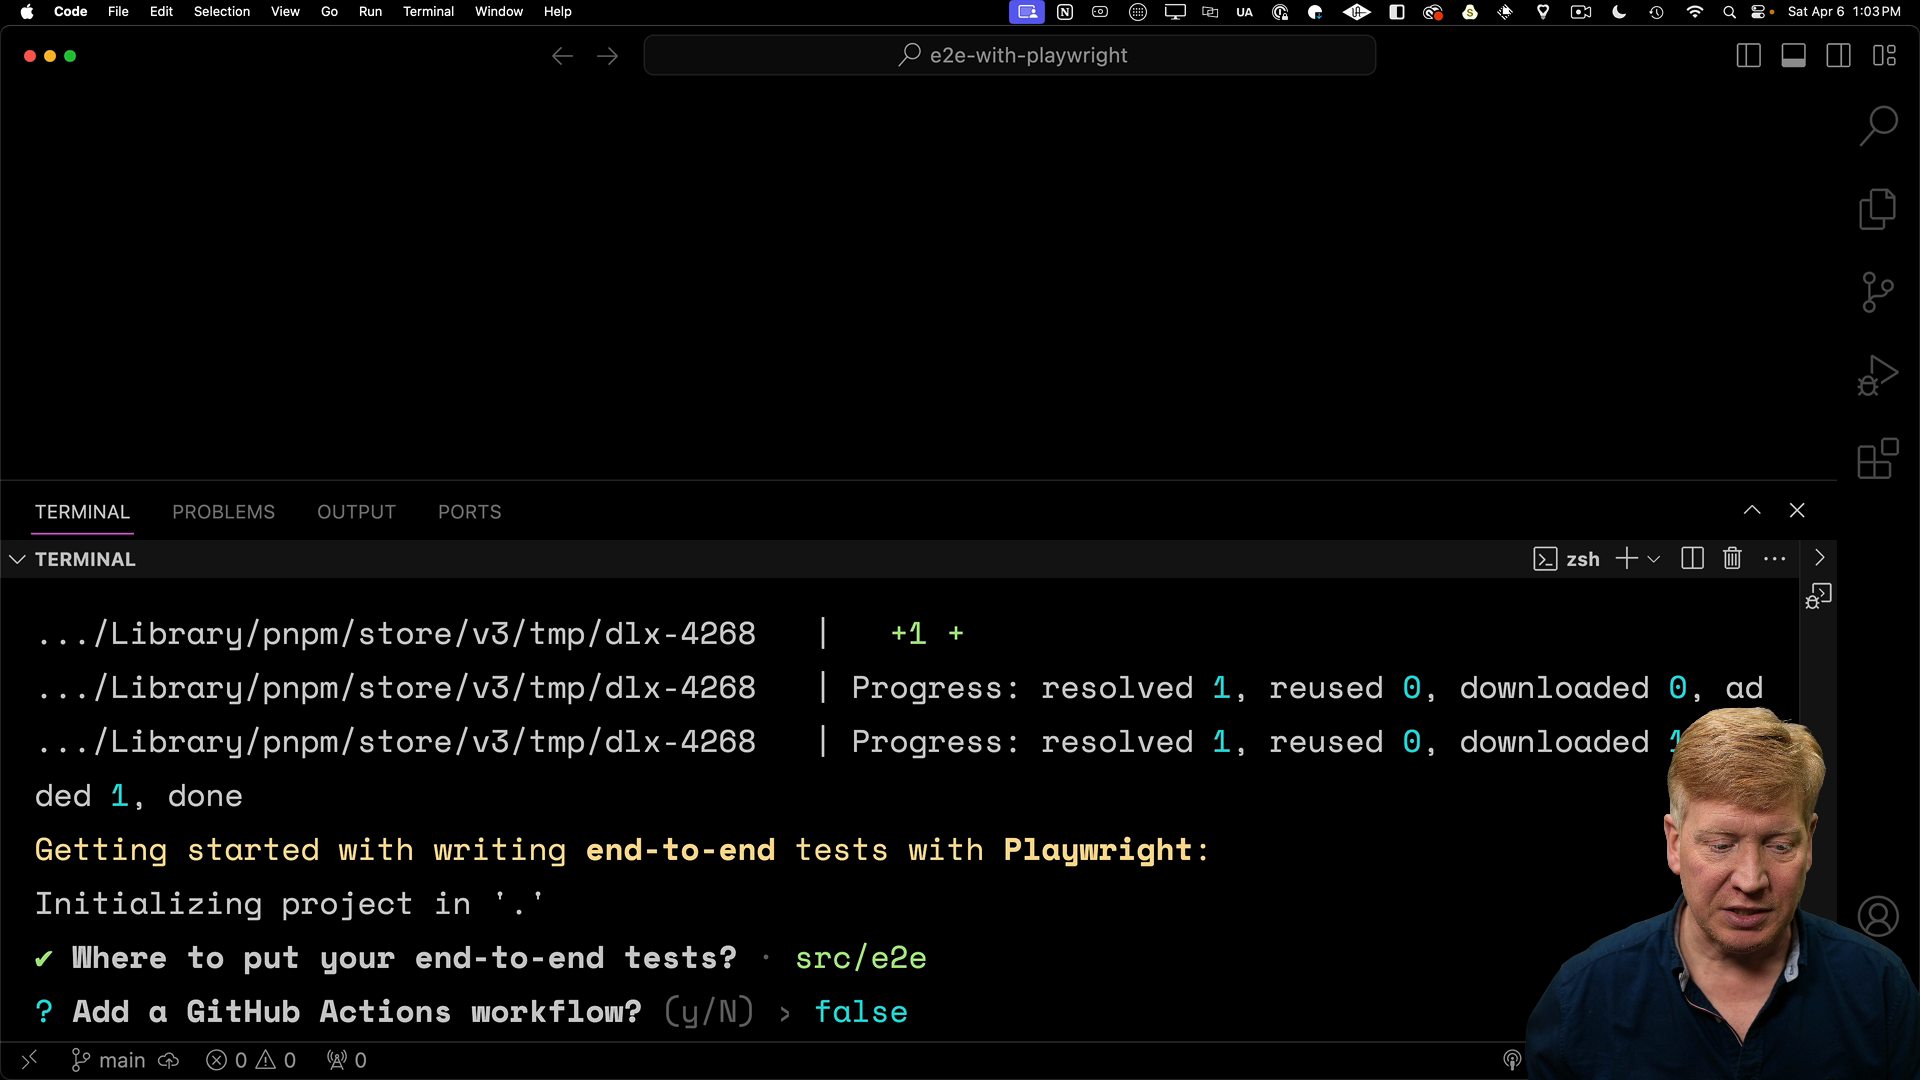
    This command will guide you through a setup process:

    playwright menu screenshotbinaries for Chromium, Firefox, and WebKit, enabling us to test our application across different browsers.

    Choose to install Playwright in the e2e directory within your src folder. You can skip the GitHub Actions workflow setup for now. However, make sure to select the option to "install the Playwright browsers" as this is essential for running our E2E tests!

    Configuring Playwright for Next.js

    With Playwright installed, we need to make a few adjustments to the configuration.

    Open the playwright.config.ts file. First, we'll enable the automatic launch of our development server when running E2E tests. Uncomment the following line and set the command to npm run dev:

      // inside playwright.config.ts
      
      /* Run your local dev server before starting the tests */
      webServer: {
        command: "npm run dev",
        url: "http://127.0.0.1:3000",
        reuseExistingServer: !process.env.CI,
      },
    

    Next, we need to specify the base URL for our tests. This ensures that relative paths used in our tests resolve to the correct location. Update the baseURL property to http://127.0.0.1:3000 as shown below:

    // inside playwright.config.ts
    
    /* Shared settings for all the projects below. See https://playwright.dev/docs/api/class-testoptions. */
    use: {
      /* Base URL to use in actions like `await page.goto('/')`. */
      baseURL: "http://127.0.0.1:3000",
    
      /* Collect trace when retrying the failed test. See https://playwright.dev/docs/trace-viewer */
      trace: "on-first-retry",
    },
    

    Create a Basic E2E Test

    Before writing our first test, let's modify our Next.js application to have some content we can test against. In the app/page.tsx file, replace the existing code with the following:

    // inside app/page.tsx
    
    export default async function Home() {
      const pokemon = (await fetch("https://pokeapi.co/api/v2/pokemon").then(
        (res) => res.json()
      )) as { results: { name: string }[] };
    
      return (
        <div className="bg-black text-white p-5">
          <h1>Pokemon</h1>
          <ul>
            {pokemon.results.map((p) => (
              <li key={p.name}>{p.name}</li>
            ))}
          </ul>
        </div>
      );
    }
    

    As before, this component will render a basic list of Pokemon names fetched from the PokeAPI.

    Now, navigate to the e2e directory and delete the example.spec.ts file. Create a new file named home.spec.ts and add the following code:

    import { test, expect } from "@playwright/test";
    
    test("simple home page test", async ({ page }) => {
      await page.goto("/");
    
      await expect(page.getByText("bulbasaur")).toBeVisible();
    });
    

    This test navigates to the root of our application (/) and checks if the text "bulbasaur" is visible on the page.

    Running E2E Tests

    We can now execute our test using the following command:

    pnpm exec playwright test
    

    Playwright will launch the headless versions of Chromium, Firefox, and WebKit, run the test in each browser, and display the results in the terminal.

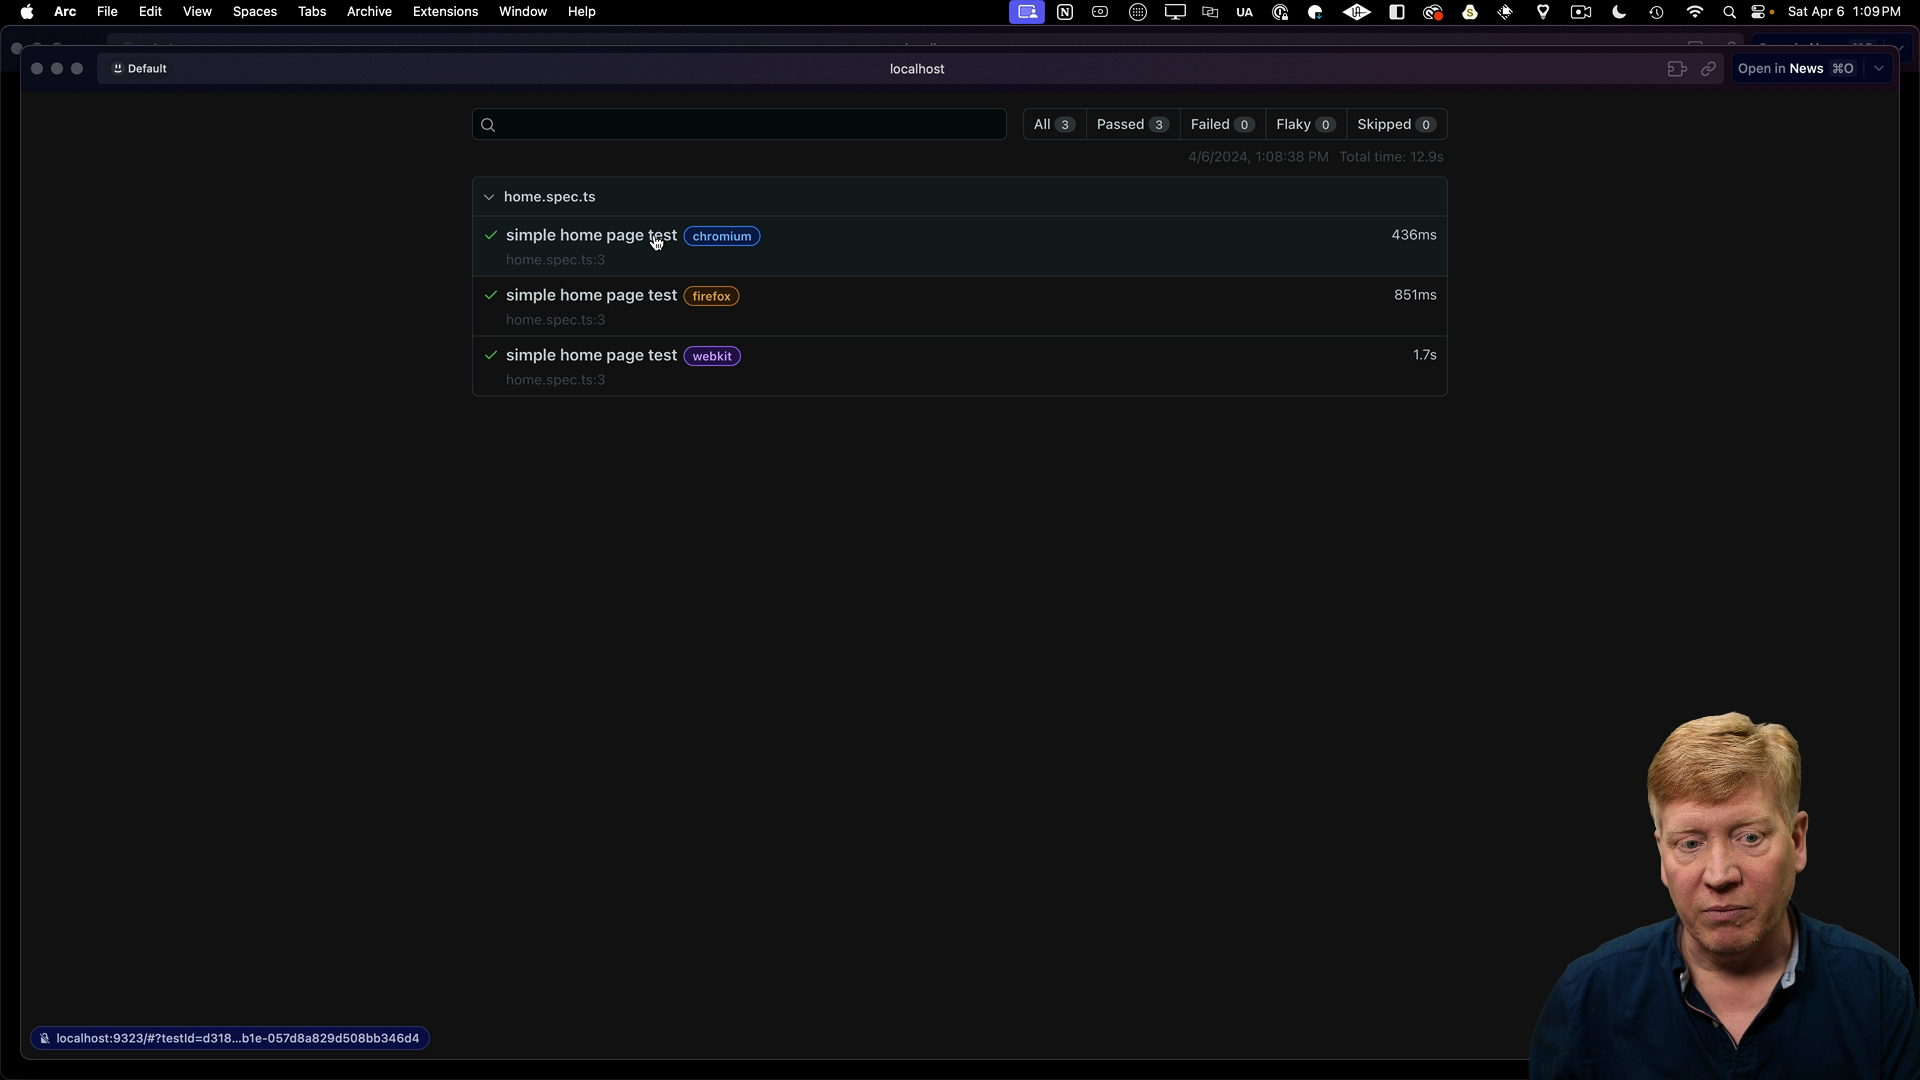
    After the tests finish, you can get a more detailed report with the following command:

    pnpm exec playwright test
    

    This will open a report in your browser, providing information about each test run, including screenshots and step-by-step actions.

    playwright report

    Finally, to simplify running our E2E tests, we can add a script to our package.json file:

    // inside package.json
    
    "scripts": {
      // ... other scripts
      "test:e2e": "playwright test"
    },
    

    Now, we can run our E2E tests using npm run test:e2e.

    Transcript

    There's two fundamental ways to test a React application. One is with unit tests and the other is with end-to-end tests. So in this video, I'm going to walk you through how to install Playwright, which is an end-to-end testing framework in your Next.js application. We'll get to how to use that in conjunction with unit tests in another video where we talk about the overall approach to testing an XJS application. So let's get installed by starting off with our application.

    It's called E2E with Playwright. We're gonna use all the defaults, TypeScript, ESLint, Tailwind, source directory, the app router, and we are not going to customize the import alias. I'll bring it up in my VS Code. Now they're all created. Let's go bring up the terminal And we will create Playwright.

    I don't know why we get a pmpm create command. I guess it's creating the Playwright configuration. It's certainly not creating an app. I always associate create with an app, but here we go, create Playwright. So when it comes to EDETest, I generally tend to put them in an E to E directory inside of the source directory.

    I'm not going to bother with the GitHub Actions workflow at this time. And I'm going to install the Playwright browsers. Now, end-to-end tests actually launch a headless browser, and they navigate your site, and you go and check things on your site. So it's an end-to-end test of your application. So it's going to install these headless browsers, if I hit true, which I will.

    Okay, so it's finished installing Chromium, Firefox, and also Safari. So it's gonna test across all of those. Let's go take a look at what it's done to our app. So it's created a new EDE directory inside of source. Thank you very much for that example spec in it.

    We're gonna get rid of that, but We've also created test examples. I'm just going to get rid of those. If you want, you can go and look at those yourself, see what they look like, but you don't want to keep them around. It's also created a Playwright config. There's a few things we're going to want to change.

    First off, we're going to want to have the system automatically run our web server when we run end-to-end tests. So I'm going to uncomment this, say that our start command is dev. You can build and then start the production build. That's up to you as well. Let's hit save.

    And then one more thing we want to change the base URL. Now the base URL defines for your test, where if you use a relative path, where does it actually go? So we want to be able to say, go to slash and have it go to the port 3000, which is where we're going to run our app. So let's hit save. And now let's go and change out our homepage so we actually have something worth testing.

    So we go over to our page, and in the instructions you'll find this component. It goes off and it hits the Pokemon API, gets a list of all the Pokemon and returns them. So let's hit save. I'll actually run it and I'll show you what it looks like. So in the browser, we can see that we have this homepage, we've got a list of all the Pokemon that we get back from that API, including Bulbasaur.

    So that's what we're going to use our E2E test for. We're actually gonna have it go and navigate to the site and look for Bubble Sour. So going back into my Visual Studio code, I'm going to go over into my E2E directory. I'm going to remove the example spec. I'm gonna create a new one called home.spec.ts.

    I'm gonna bring in test and expect from Playwright, I'm gonna use test to define a simple homepage test. I'm gonna tell Playwright with my page object to go to the slash route and then I'm going to look for Bulbasaur and expect it to be visible. So let's see. Let's hit save and try it out. To run this I'm going to use the pmpm command.

    I'm going to exec playwright with test. So it's going to fire up those three headless browsers. Kind of cool. And it's going to tell us that those three tests passed. So it actually went, hit those pages, found BubbleSource.

    Pretty cool. Now it's actually run this show report, excuse me, report of what just happened. Ah, So we ran the page test on Chromium, Firefox, and WebKit. We can click in there. We can actually see the test steps.

    Really nice. All right, to finish the setup, let's go and add a testEDE script to our package.json. This will probably be in addition to your unit test test or run individually in your CI CD. Now we can simply do test E to E and we get exactly the same output. And there we go, three pass tests.

    Now this is the kind of installation that you're going to want to do early on in the development of your Next.js App Writer application so that as you work through your application building process, you can smoke test your application in CICD. We'll talk about more about testing philosophy as this course goes on, but for the moment, we've all set up with Playwright. We're looking good.